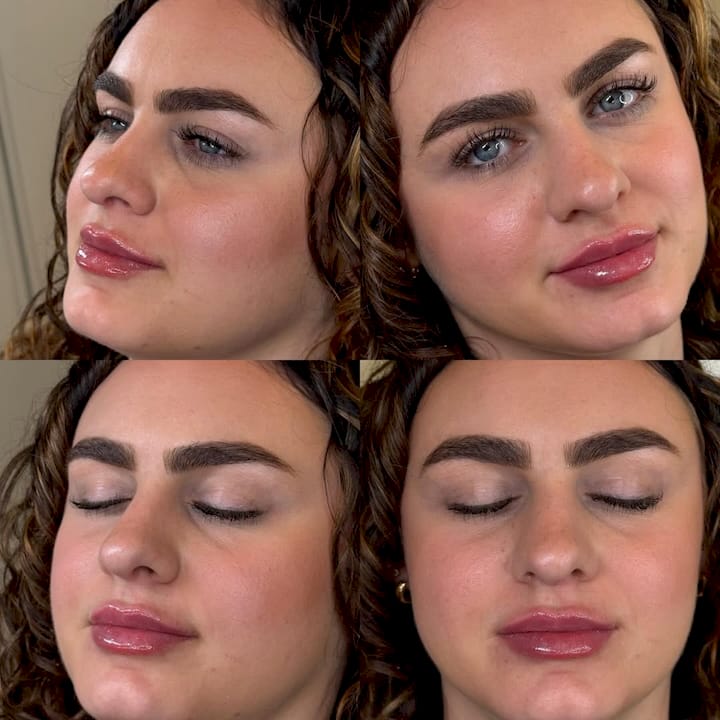
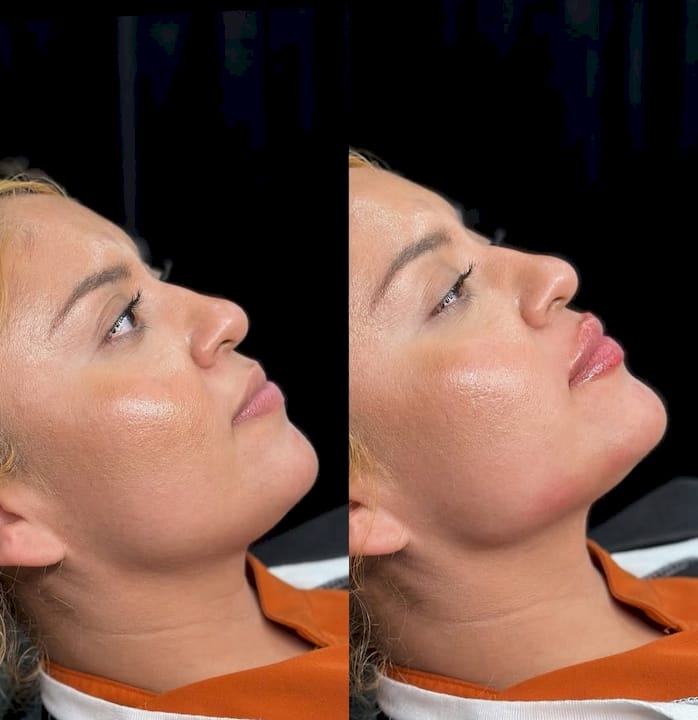
Nearly one in five American women with lip fillers experiences visible migration or uneven results over time. This can leave many in San Antonio and Austin feeling frustrated about changes in their appearance and searching for trustworthy solutions. You want lips that look natural and beautiful for months, not just days. Discover the steps that help safeguard your investment, minimize complications, and empower you to maintain results you truly love.
Table of Contents
Quick Summary
| Key Message | Explanation |
| 1. Choose an Experienced Injector | Selecting a qualified professional minimizes lip filler migration risks and ensures safe, effective results. |
| 2. Select the Right Filler Type | Understanding different filler characteristics helps achieve natural results tailored to your aesthetic goals. |
| 3. Follow Pre-Treatment Instructions | Preparing your body by avoiding certain medications and activities can reduce complications and improve outcomes. |
| 4. Practice Correct Aftercare | Following aftercare guidelines protects your investment and promotes healing, preventing migration or complications. |
| 5. Monitor Changes Regularly | Keep track of your lip filler results with photos and notes to identify any early signs of migration or unevenness. |
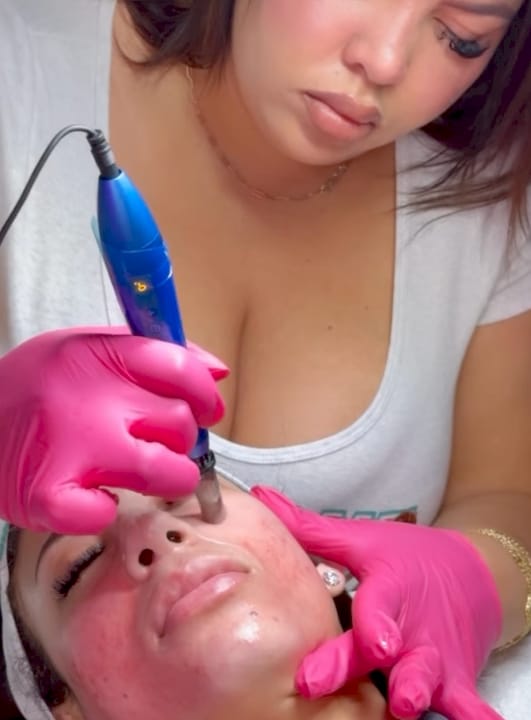
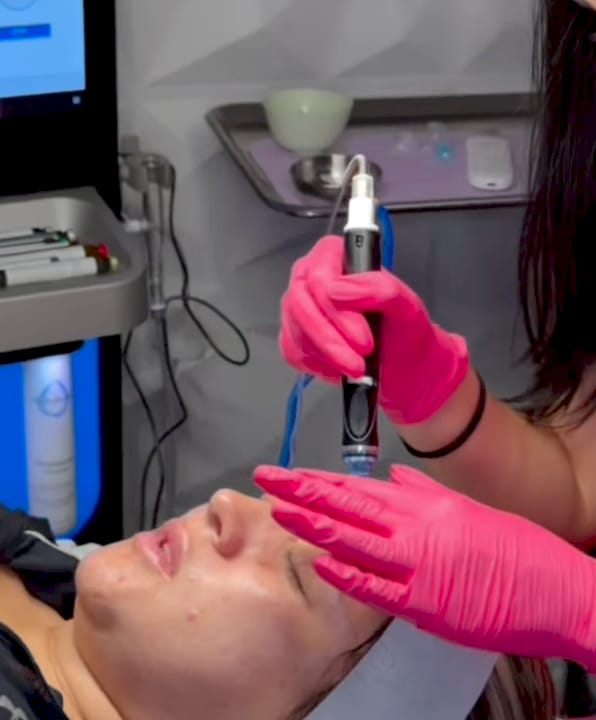
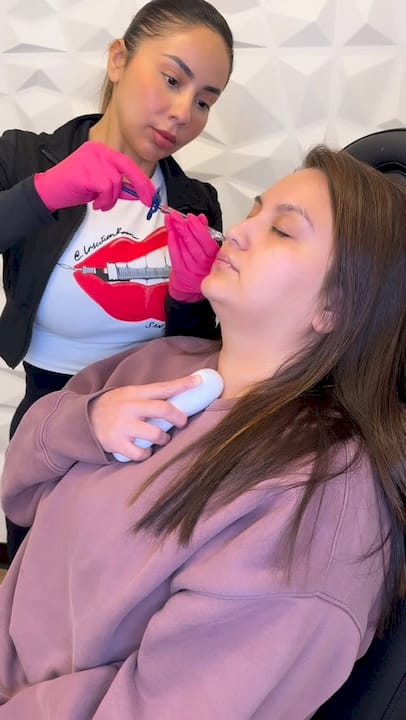
Step 1: Choose an Experienced Injector
Choosing the right professional is your first line of defense against lip filler migration. An experienced injector understands the nuanced anatomy of lip tissues and knows precisely how to place dermal fillers with minimal risk.
When researching potential injectors, look beyond basic credentials. Seek professionals who specialize in lip enhancement and have a proven track record of natural results. Ask to see before and after photos, verify their medical certifications, and request patient testimonials. Board certified dermatologists or plastic surgeons who focus specifically on facial aesthetics will have the technical expertise to minimize potential complications.
Consider scheduling consultations with multiple professionals to compare their approach, communication style, and understanding of your aesthetic goals. During these meetings, ask detailed questions about their technique for preventing filler migration, their preferred filler types, and how they customize treatments for individual facial structures.
Pro Tip: Request to see a portfolio of lip filler results that match your desired aesthetic outcome, and do not hesitate to ask about their specific training and years of specialized experience in lip enhancement procedures.
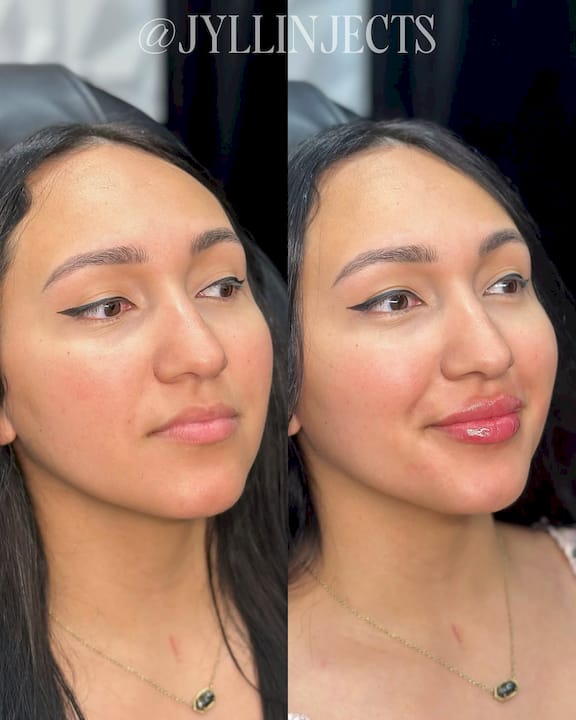
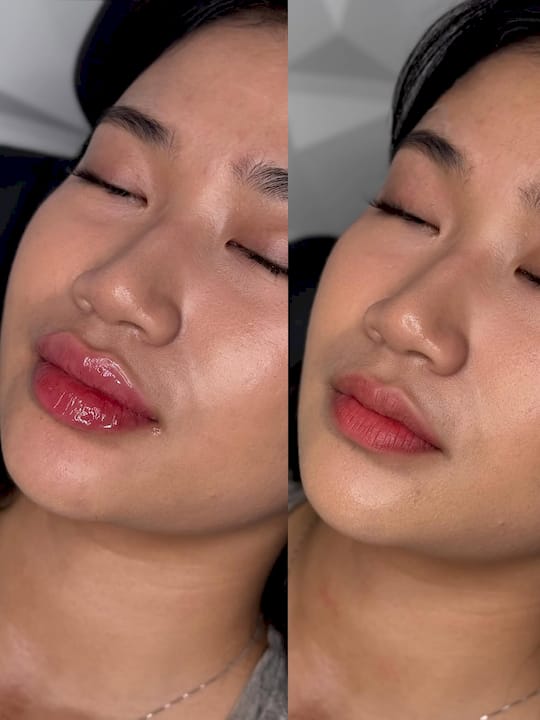
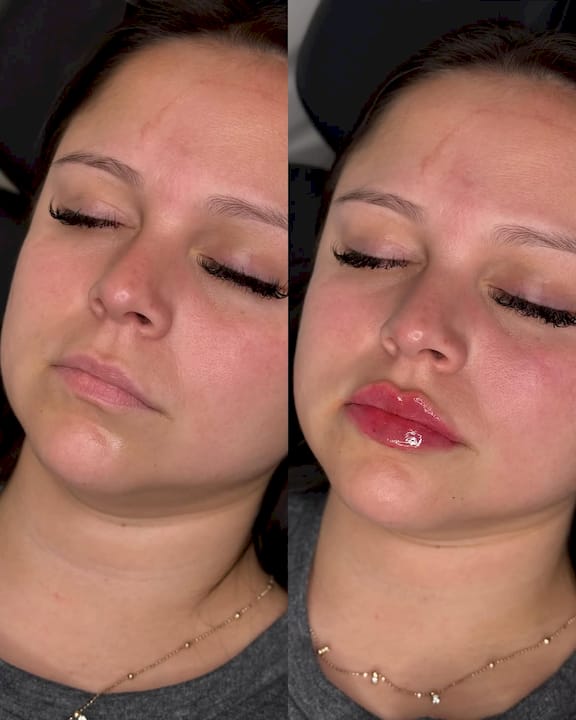
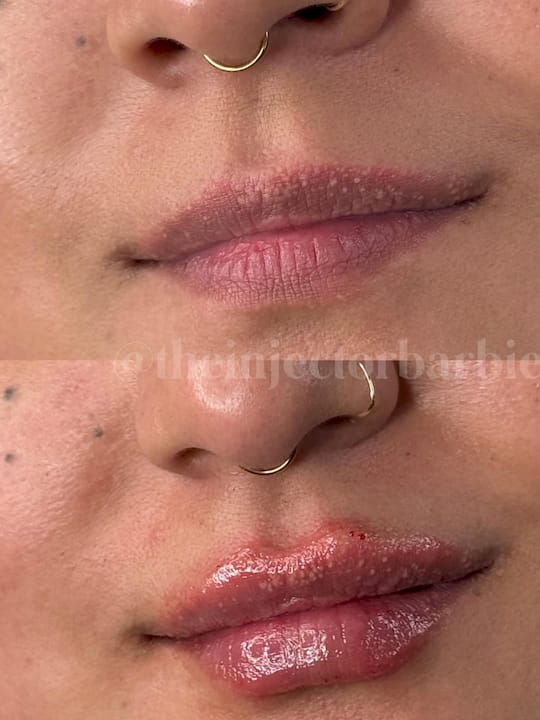
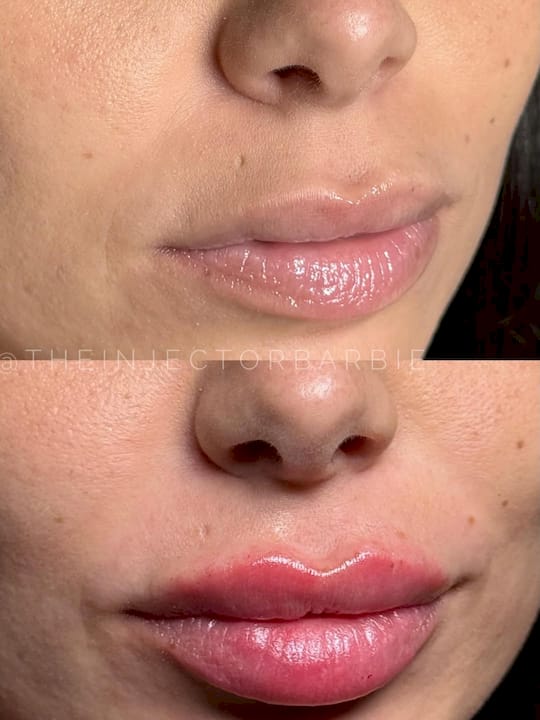
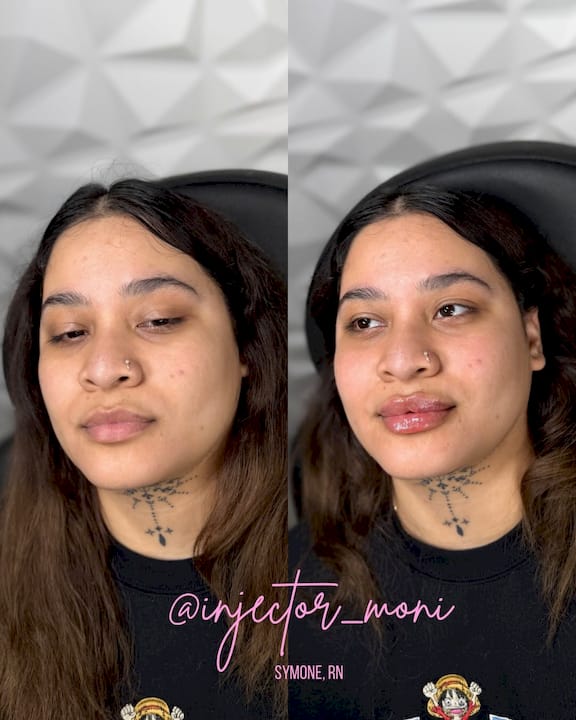
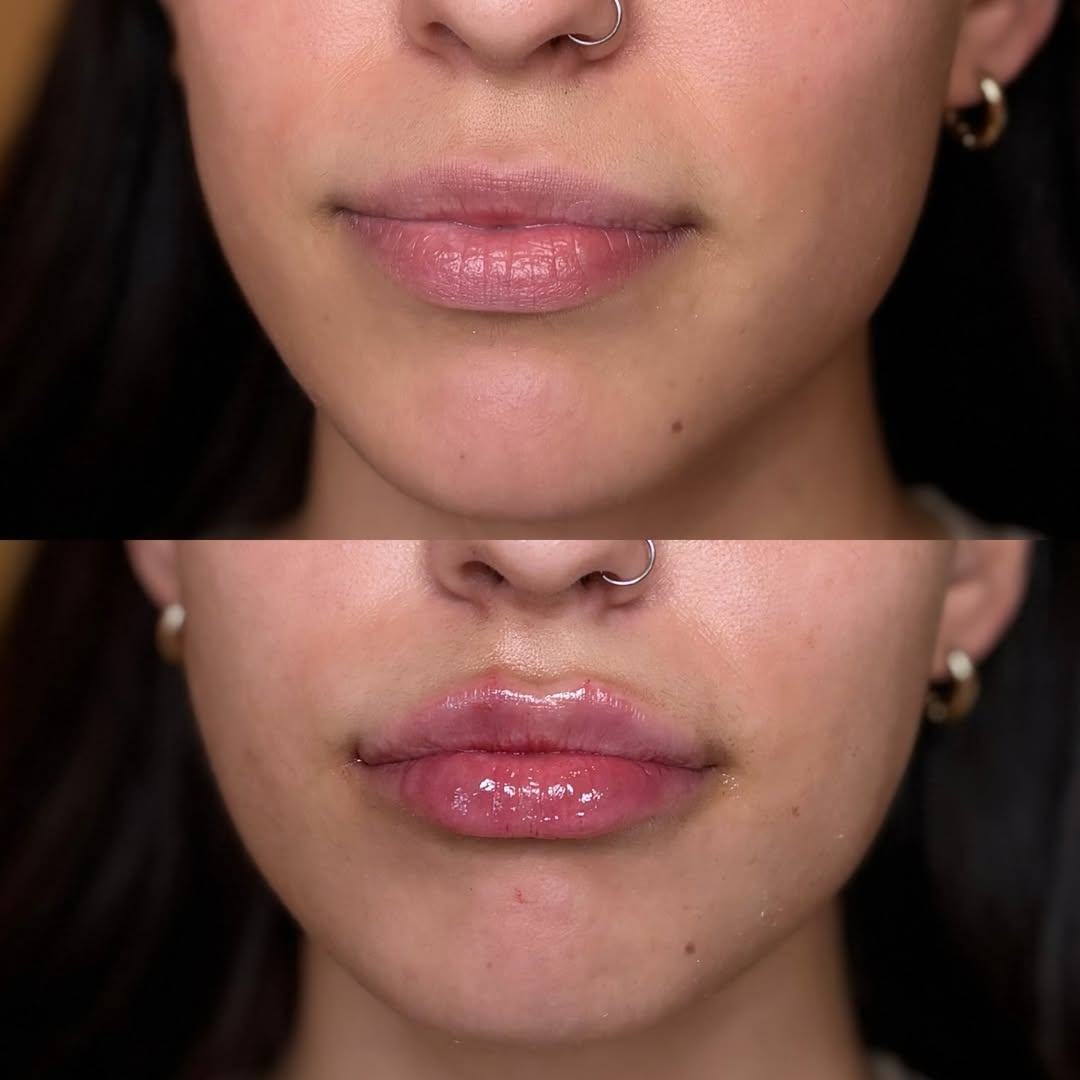
Step 2: Determine the Right Lip Filler Type
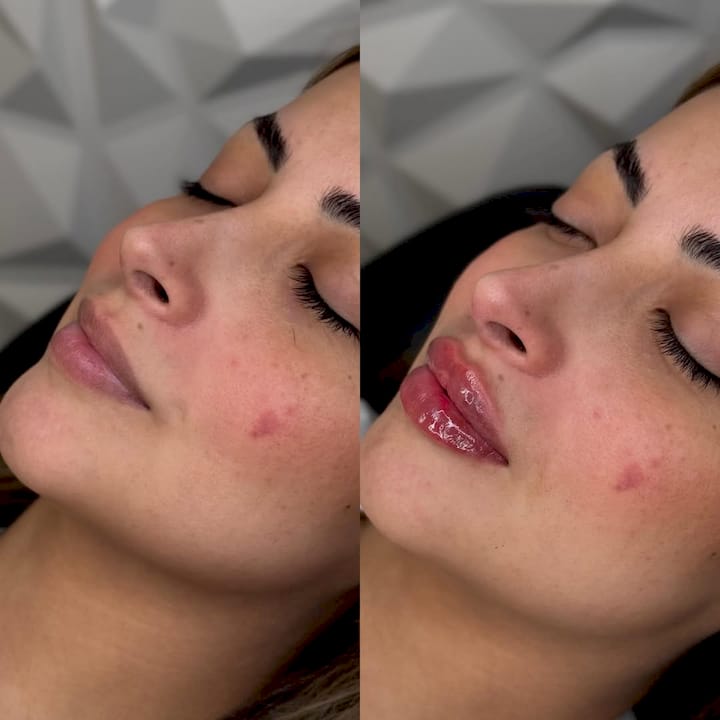
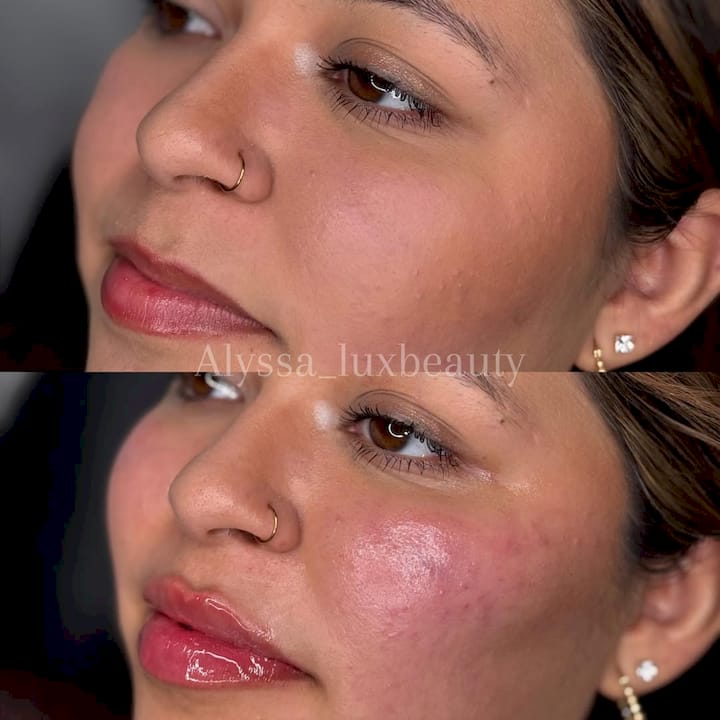
Selecting the appropriate lip filler is crucial for achieving natural results and minimizing the risk of migration. Understanding the various types of dermal fillers will help you make an informed decision about your lip enhancement procedure.

The FDA recognizes multiple filler types, but hyaluronic acid fillers remain the most popular option for lip augmentation. These fillers offer predictable results with a lower risk of complications. Hyaluronic acid fillers come in different consistencies that can address specific aesthetic goals such as adding volume, defining lip borders, or creating subtle enhancements. Some popular hyaluronic acid fillers include Juvederm, Restylane, and Versa, each with unique characteristics that impact how they integrate with your lip tissue.
Here is a quick comparison of popular hyaluronic acid lip fillers and their key characteristics:
| Filler Brand | Consistency & Feel | Longevity | Main Benefit |
| Juvederm | Smooth, cohesive gel | 6-12 months | Adds pronounced volume |
| Restylane | Firmer, structured gel | 6-12 months | Defines lip borders |
| Versa | Soft, less swelling | 6-12 months | Subtle, natural enhancement |
When consulting with your injector, discuss your specific aesthetic goals and review the characteristics of different filler types. Consider factors like desired volume, longevity of results, and potential side effects. Some fillers last six months, while others can provide results up to two years. Your injector can help you understand the nuanced properties of each filler type and recommend the best option for your individual lip structure and aesthetic vision.
Pro Tip: Request a patch test or consultation that includes a detailed discussion of how different filler types might interact with your specific lip anatomy and skin characteristics.
Step 3: Follow Pre-Treatment Instructions
Preparing your body for lip filler treatment is a critical step that can significantly impact your results and minimize potential complications. Understanding and meticulously following pre-treatment guidelines will help ensure a smooth and successful procedure.
The most important pre-treatment considerations involve managing medications and lifestyle factors. Dermatologists recommend specific preparation steps that reduce risks of bruising and swelling. This includes avoiding blood-thinning medications like aspirin, ibuprofen, and certain supplements such as vitamin E and fish oil for approximately 5-7 days before your appointment. Alcohol should be eliminated at least 24 hours prior to treatment, as it can increase inflammation and bleeding risk.
Physical preparation is equally important. Avoid strenuous exercise and excessive sun exposure the day before your procedure. If you have any active skin infections or cold sores, inform your injector immediately. Pre-treatment protocols help minimize potential complications and create optimal conditions for filler placement. Some practitioners might recommend antiviral medications if you have a history of cold sores, as the injection process can potentially trigger an outbreak.
Pro Tip: Take clear, detailed photos of any pre-existing lip conditions and bring them to your consultation to help your injector understand your baseline lip anatomy and potential concerns.
Step 4: Practice Correct Aftercare Habits
Maintaining proper aftercare following lip filler treatment is crucial for achieving optimal results and preventing potential complications like filler migration. Your actions in the first 48 hours can significantly impact the longevity and appearance of your lip enhancement.
Dermatologists recommend specific post-treatment protocols to protect your investment and promote healing. Avoid touching or massaging your lips unnecessarily for at least 24 hours after the procedure. This helps prevent accidental displacement of the filler and reduces the risk of infection. Steer clear of intense physical activities, saunas, and excessive heat exposure for 48 hours, as these can increase swelling and potentially disrupt filler placement.
Hydration and gentle care are key to successful recovery. Apply ice intermittently to reduce swelling, but avoid direct contact with the skin by wrapping the ice pack in a soft cloth. Post-treatment care strategies help minimize filler migration risks and support optimal healing. Stay well-hydrated, avoid alcohol and excessive sun exposure, and follow your injector’s specific aftercare instructions carefully. If you notice any unusual swelling, asymmetry, or discomfort, contact your healthcare provider promptly.
Below is a summary of essential post-treatment habits for optimal lip filler results:
| Aftercare Action | Purpose | Duration |
| Avoid lip touching | Prevent filler displacement | First 24 hours |
| Stay hydrated | Reduce swelling, aid healing | First 48 hours |
| Use ice (wrapped) | Decrease inflammation | Intermittently, first day |
| Head elevation | Minimize swelling overnight | 2-3 nights post-op |
Pro Tip: Sleep with your head elevated on an extra pillow for the first few nights to help reduce swelling and promote even filler distribution.
Step 5: Monitor Lip Changes Regularly
Track your lip filler results meticulously to catch any early signs of potential migration or uneven distribution. Consistent observation helps you address subtle changes before they become significant aesthetic concerns.
Create a systematic approach to monitoring your lip enhancement. Take clear, well-lit photographs from multiple angles immediately after your procedure and then periodically over the next several weeks. Compare these images to identify any gradual shifts in filler placement. Look for specific indicators such as asymmetry, unusual lumps, or changes in lip shape that might suggest migration is occurring.
Pay close attention to how your lips feel and move during different activities. Unexpected firmness, visible bumps, or discomfort could signal potential issues with filler placement. Document any changes by noting the date, specific observation, and taking additional photographs. Schedule a follow up consultation with your injector if you notice significant asymmetry, unexpected swelling, or areas that feel unusually hard or uneven. Early intervention can prevent more complex corrections down the line and ensure you maintain the desired aesthetic outcome.
Pro Tip: Create a dedicated digital folder with dated photos and notes to track your lip filler evolution systematically and provide comprehensive visual evidence during future consultations.
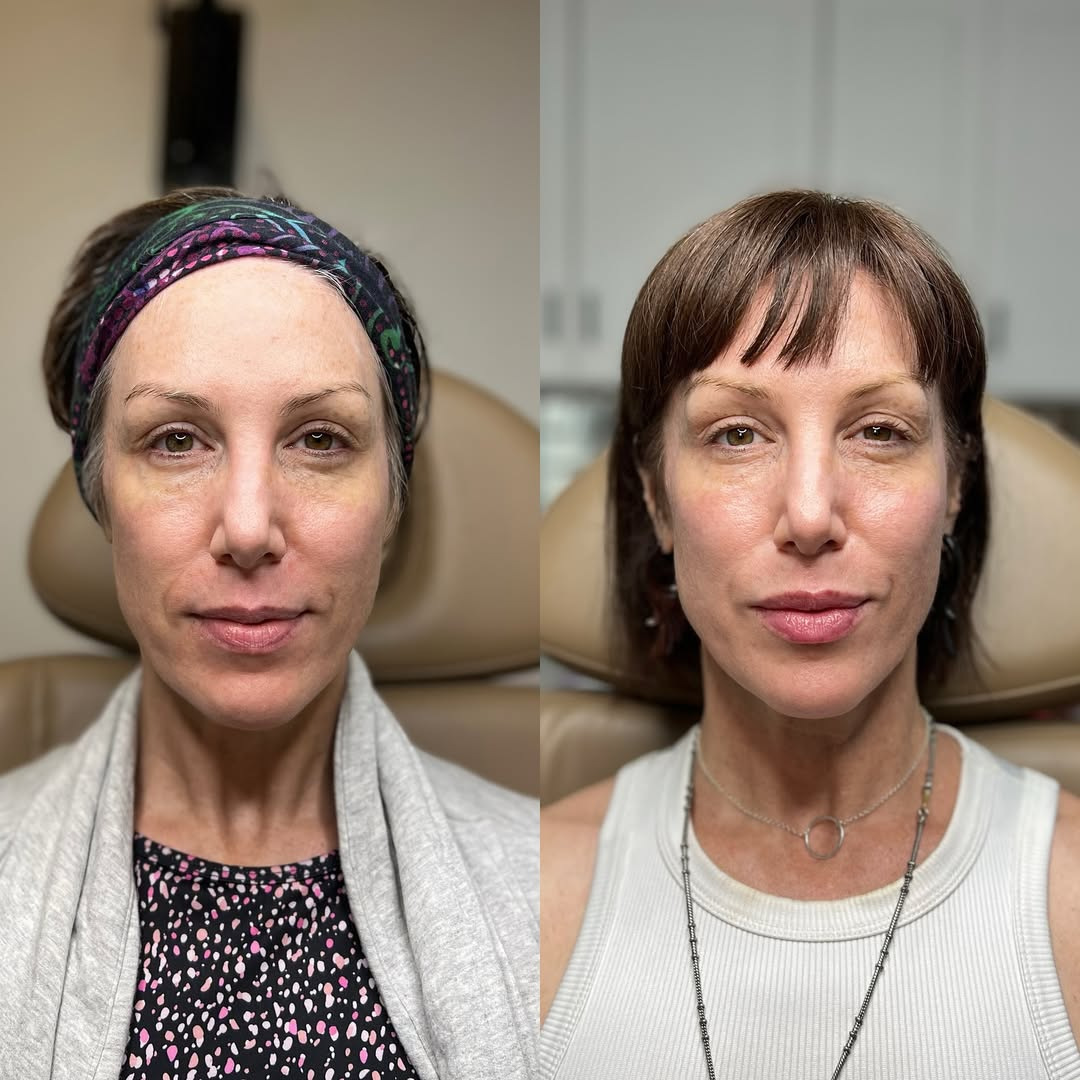
Protect Your Investment with Expert Care at The Injection Room
Lip filler migration can be a frustrating concern for anyone seeking beautiful and natural lip enhancements. This challenge calls for precision, the right filler choice, and expert aftercare to keep results flawless and lasting. At The Injection Room, we understand how important it is to avoid complications by partnering with experienced professionals who specialize in dermal fillers and prioritize your unique anatomy and goals.
Explore our trusted skincare treatments designed to support healthy skin before and after your filler sessions. Whether you want to refine your look with expert neurotoxin solutions or advance your lip enhancement safely with premium fillers, our med spa team is here to guide you every step of the way. Don’t wait until migration issues arise. Act now by visiting The Injection Room to schedule your consultation and discover customized treatments tailored to maintain your natural beauty with confidence.
Frequently Asked Questions
What steps should I take to choose an experienced injector for lip fillers?
Selecting an experienced injector is essential to avoid lip filler migration. Schedule consultations with multiple professionals, ask detailed questions about their technique, and review before and after photos to assess their expertise in lip enhancement procedures.
How can I determine the right lip filler type for natural results?
To achieve natural results and minimize migration risk, discuss different filler types with your injector. Consider factors such as consistency, longevity, and your specific aesthetic goals; some fillers last up to 12 months, so clarify your preferences before treatment.
What pre-treatment instructions should I follow before getting lip fillers?
Follow your injector’s pre-treatment guidelines to reduce risks of bruising and swelling, including avoiding blood thinners and alcohol for 5-7 days prior. Ensure to inform your injector about any skin infections, as this can impact your treatment success.
How should I care for my lips after receiving fillers?
Proper aftercare is crucial to prevent migration; avoid touching your lips for at least 24 hours and stay well-hydrated. Use ice wrapped in a cloth to reduce swelling intermittently for the first day and avoid intense physical activities for 48 hours.
How can I monitor changes in my lips after the filler treatment?
Create a routine to track your lip enhancement by taking photos from multiple angles soon after the procedure and periodically for weeks. Notice any signs of asymmetry or discomfort and schedule a follow-up with your injector if significant changes occur.
What are the signs of potential lip filler migration I should watch for?
Look for indicators like unusual lumps, asymmetry, or changes in shape that could signal migration. If you notice any, document these observations and consult your injector to address any concerns promptly.