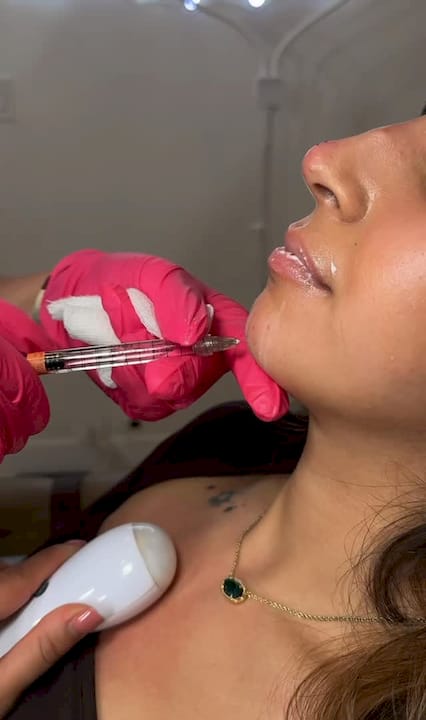
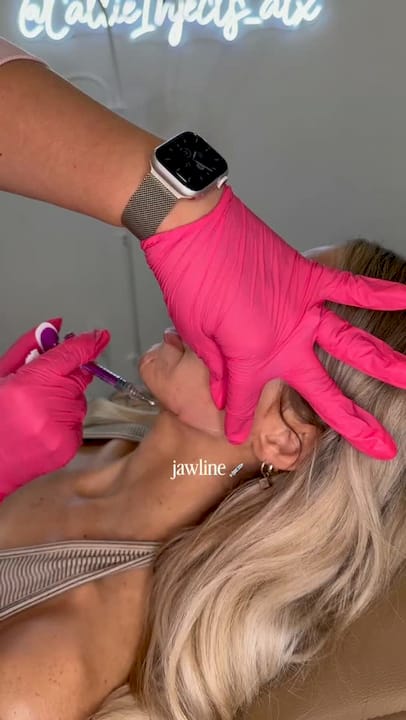
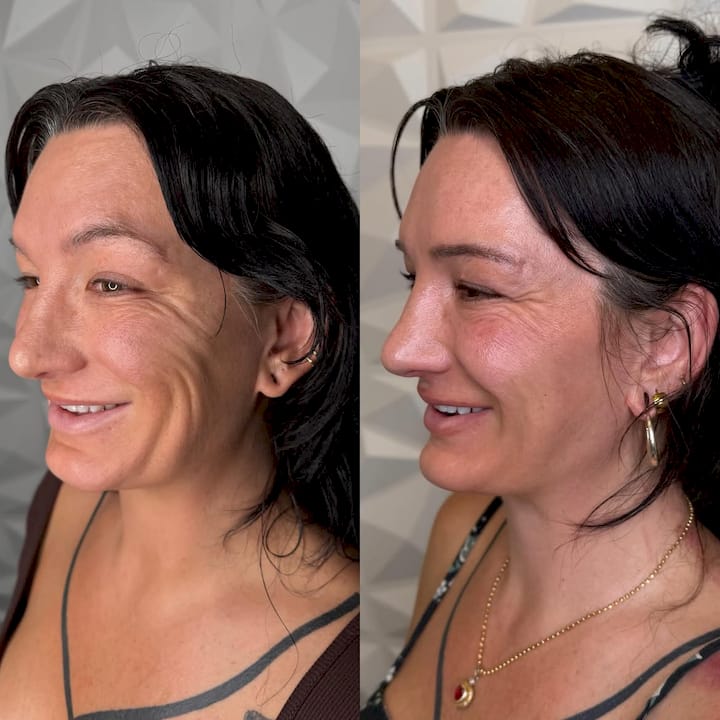
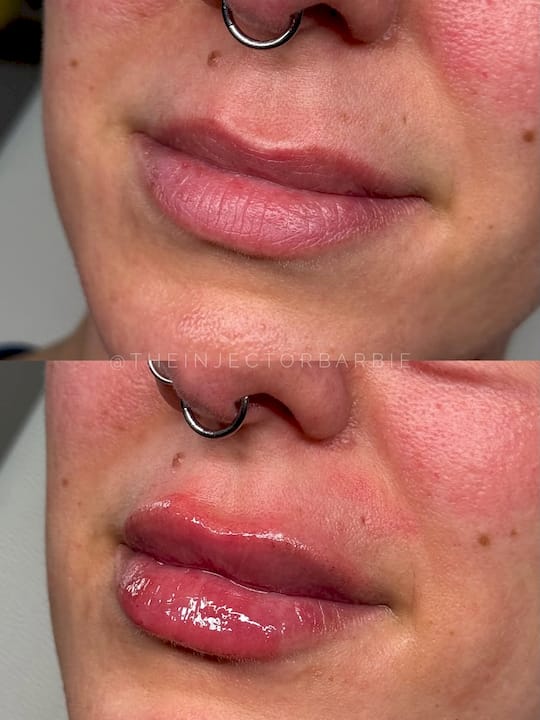
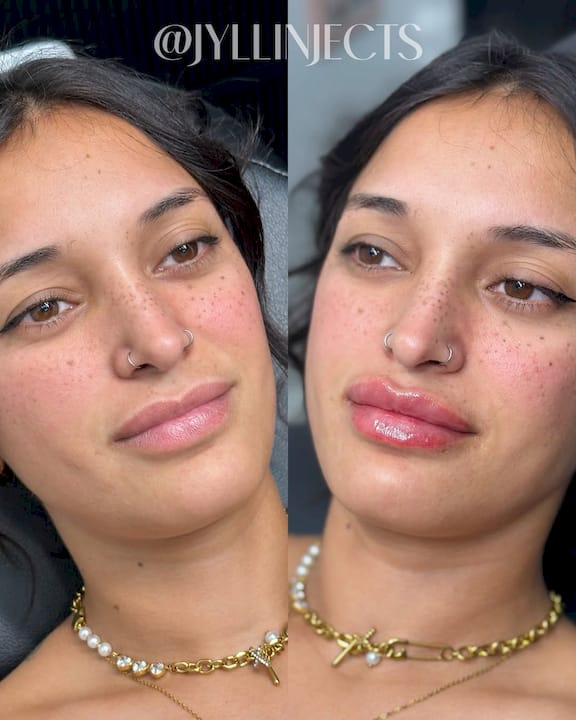
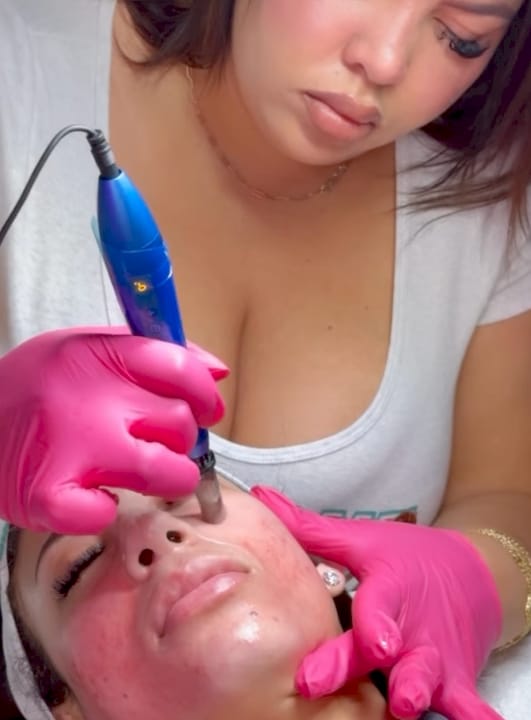
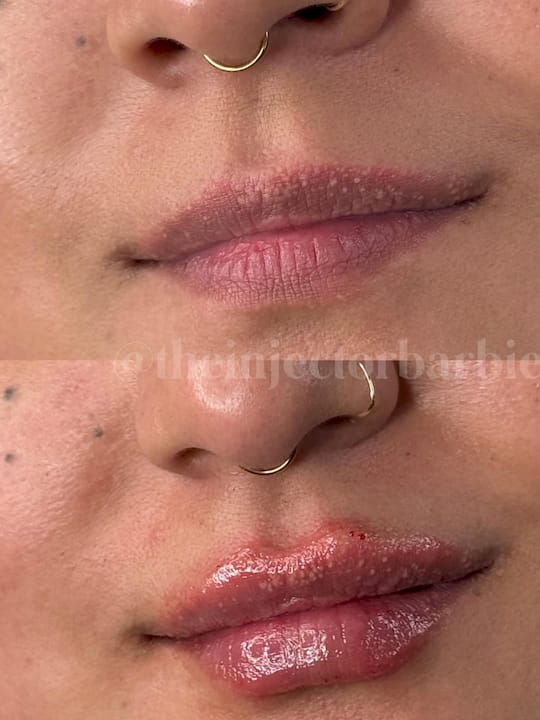
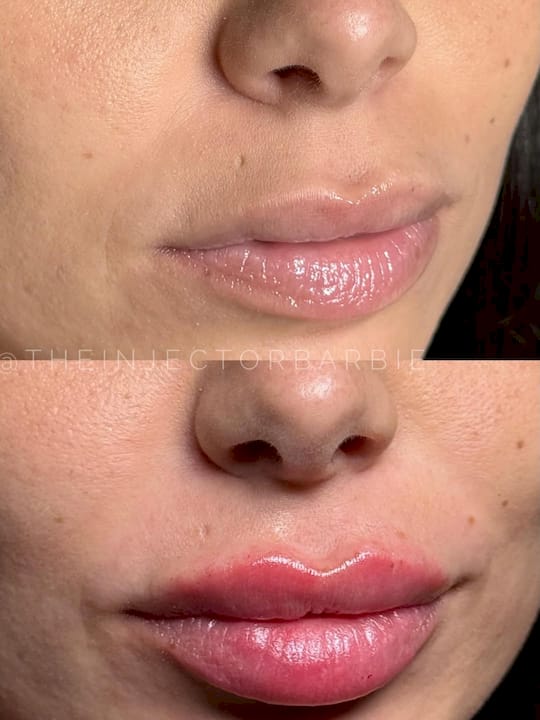
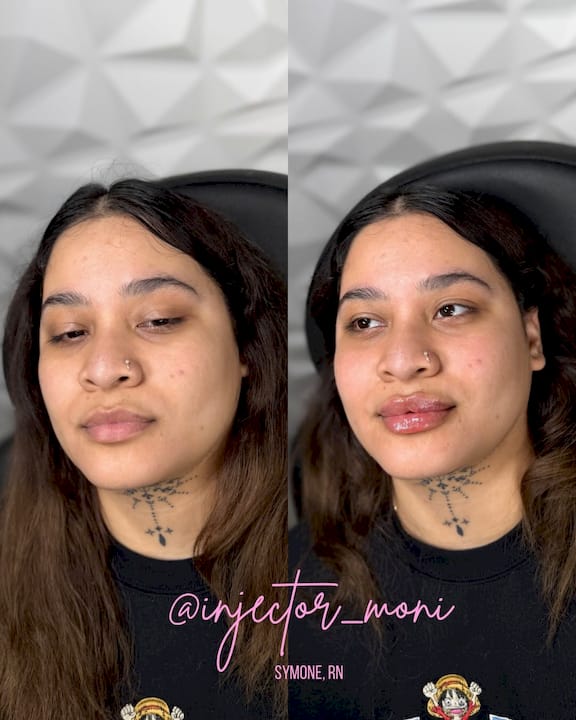
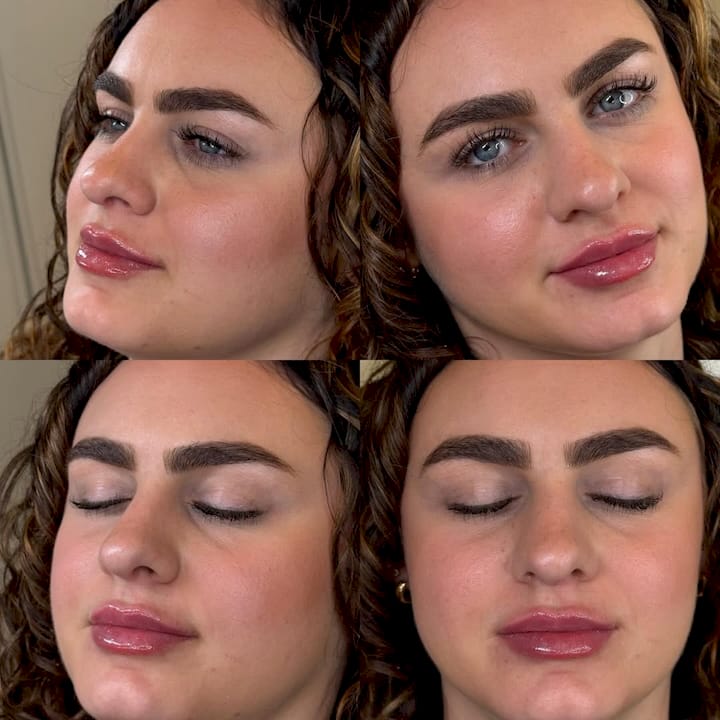
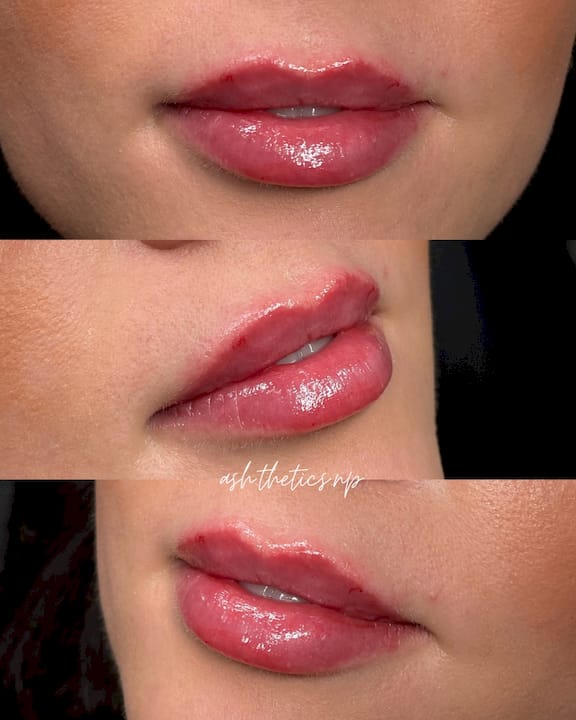
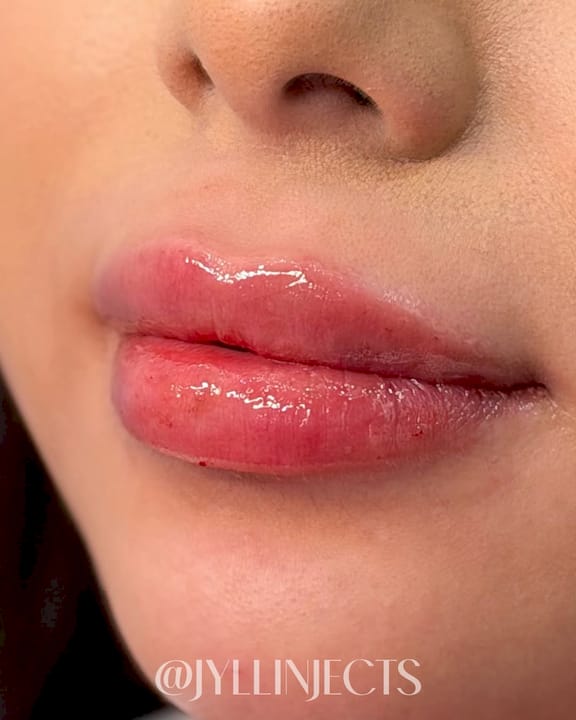
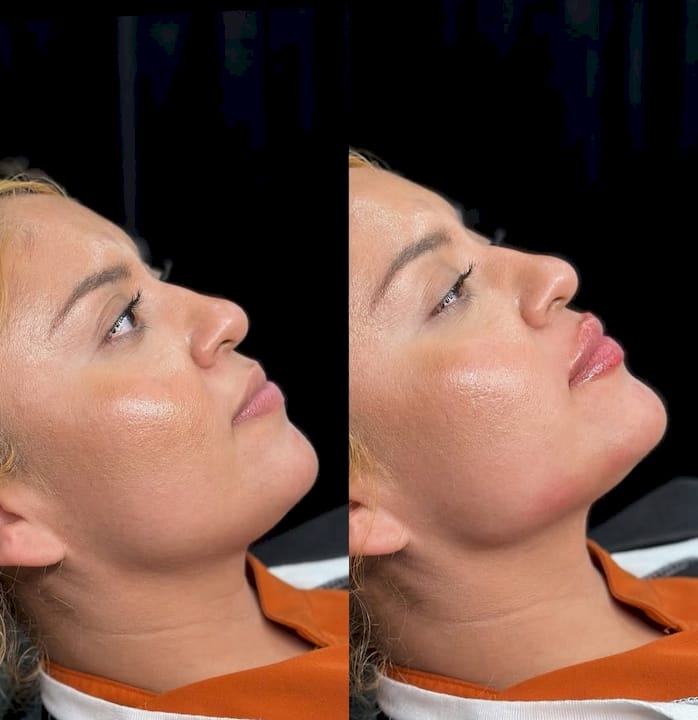
Proper preparation for filler treatments is the single most effective way to reduce bruising, minimize swelling, and achieve natural-looking results. Dermal fillers, most commonly hyaluronic acid-based injectables, work by adding volume and structure beneath the skin. What you do in the days before your appointment shapes how your body responds to the treatment. This guide covers every step, from what to avoid before your appointment to how to care for your skin after, with guidance aligned to current aesthetic standards and the approach used at Theinjectionroom in Austin and San Antonio.
How to prepare for filler: what to avoid before your appointment
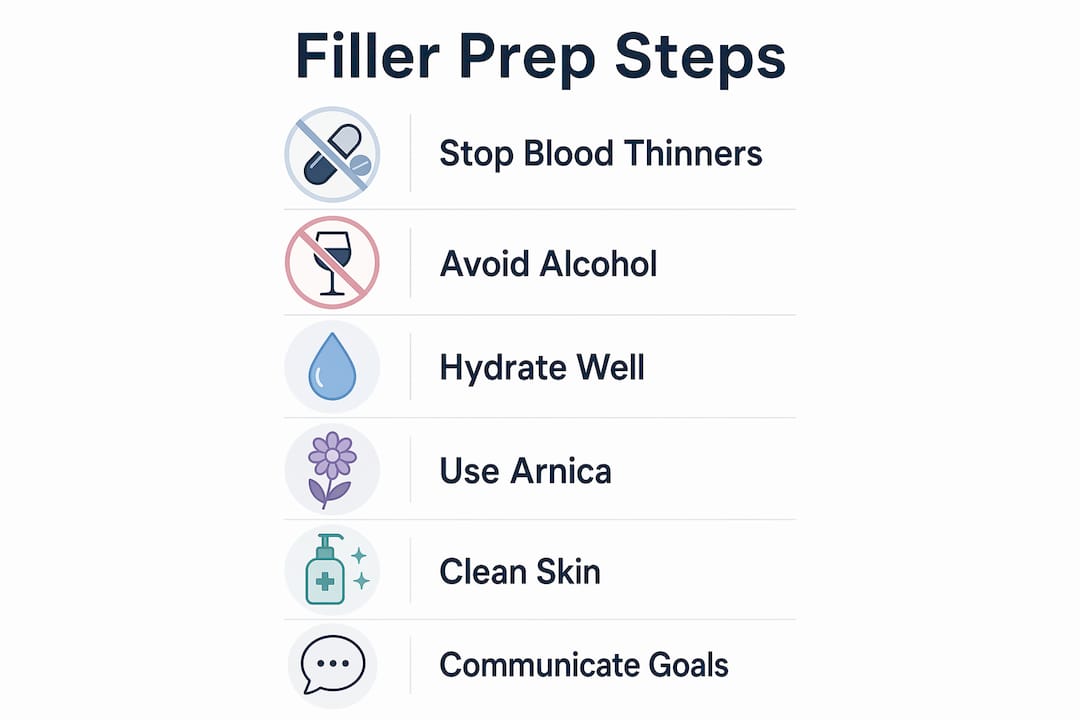
The most common cause of excessive bruising after filler is blood-thinning substances in your system at the time of injection. Stop blood-thinning medications 5–7 days before your appointment. This category includes aspirin, ibuprofen (sold as Advil and Motrin), fish oil, Vitamin E, Ginkgo Biloba, garlic supplements, and ginseng. Each of these reduces your blood’s ability to clot, which makes bruising at the injection site more likely and more visible.
Alcohol is another substance that works against you before a filler appointment. Alcohol acts as a vasodilator, widening blood vessels and increasing the risk of bruising and swelling after injection. Avoid it for at least 24–48 hours before your treatment. Many patients underestimate this one because a glass of wine the night before feels harmless. It is not.
Retinoids and active exfoliants, including tretinoin and glycolic acid, should be paused for several days before treatment. These ingredients thin and sensitize the skin, which can increase irritation at injection sites. Your provider will tell you exactly how many days to stop based on the strength of your current routine.
Dental procedures require more planning than most patients expect. Avoid dental work at least 2 weeks before and after your filler treatment. Dental procedures introduce bacteria into the bloodstream, which can travel to filler sites and cause infection. This is especially relevant for lip and cheek fillers, where the proximity to the mouth increases risk.
-
Stop aspirin, ibuprofen, fish oil, Vitamin E, Ginkgo Biloba, garlic, and ginseng 5–7 days before treatment
-
Avoid alcohol for 24–48 hours before your appointment
-
Pause retinoids and active exfoliants several days before treatment
-
Schedule dental work at least 2 weeks away from your filler date
-
Always consult your prescribing physician before stopping any prescription medication
Pro Tip: Arnica supplements taken before treatment may reduce bruising and swelling in patients who are prone to them. Ask your injector whether this is appropriate for you.
What to do on the day of your filler appointment
Day-of preparation is simpler than the days leading up to it, but it still matters. Follow these steps to set yourself up for a smooth appointment.
-
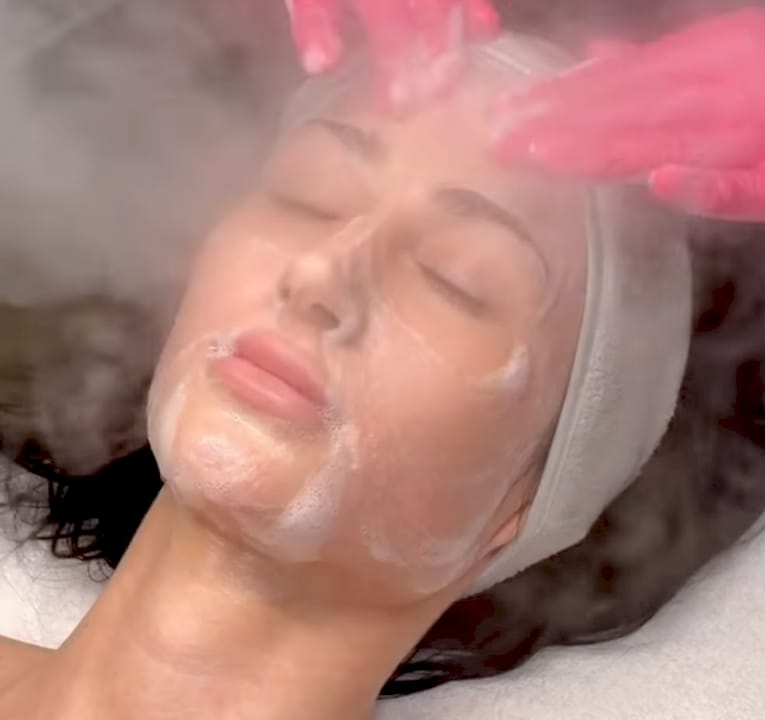
Arrive with clean, makeup-free skin. Clean skin helps maintain a sterile environment and lowers infection risk. Your provider will cleanse the treatment area again before injecting, but arriving without makeup removes one layer of potential contamination.
-
Eat a light meal beforehand. Eating before your appointment prevents vasovagal responses, which are episodes of dizziness or faintness triggered by needle anxiety on an empty stomach. A small meal or snack an hour before is enough.
-
Hydrate well in the 48 hours before treatment. Hyaluronic acid fillers bind to water in the skin. Being well hydrated before your appointment improves how the filler integrates into surrounding tissue. This is one of the most overlooked filler preparation tips.
-
Disclose your full medical history. Tell your provider about any medications, supplements, allergies, and prior filler treatments. This conversation shapes the treatment plan.
-
Mention any history of cold sores. If you have a history of cold sores and are getting lip filler, notify your provider at least 48 hours in advance. Preventive antiviral medication can be prescribed to stop an outbreak triggered by the injection.
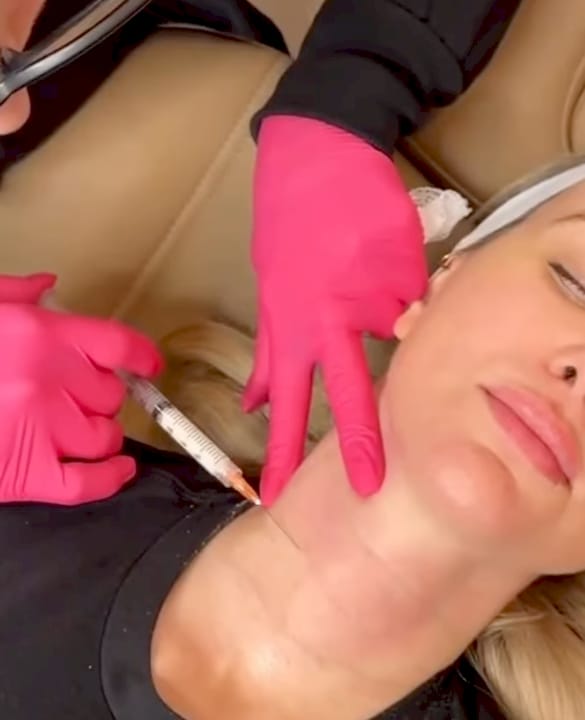
Your provider will apply a topical anesthetic to the treatment area before injecting. For guidance on what numbing options are available and how they work, anesthesia for filler treatments is covered in detail by aesthetic industry sources. The actual injection process is typically brief, often under 30 minutes for a single area.
How do you communicate your goals to your injector?
Selecting a board-certified injector is the most critical preparation step beyond the medical precautions. Credentials matter because filler placement requires a thorough understanding of facial anatomy. An unqualified injector can place product in the wrong tissue plane, causing complications that range from lumps to vascular occlusion.
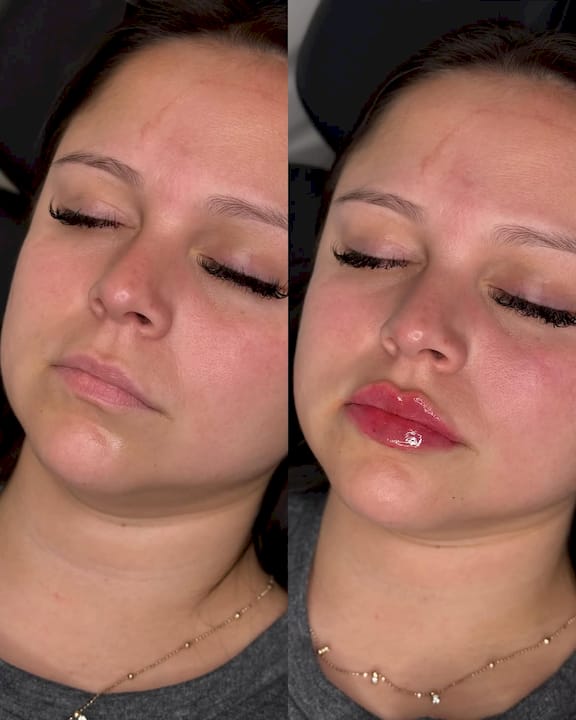
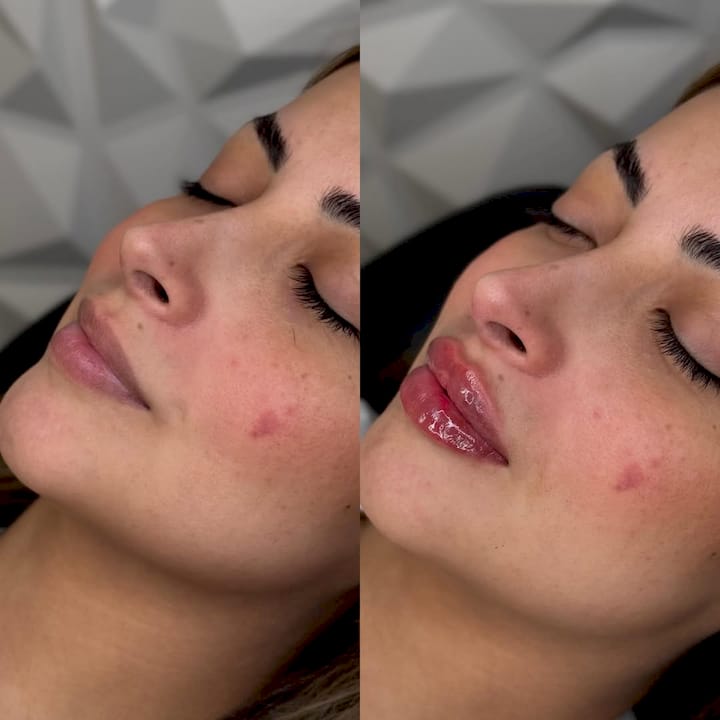
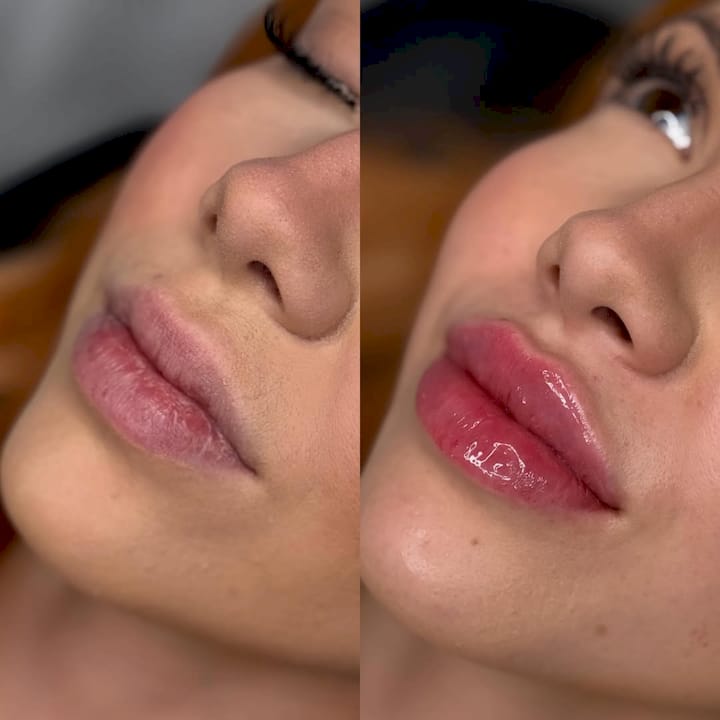
Once you have chosen a qualified provider, communication becomes the next priority. Describing desired outcomes rather than requesting a specific number of syringes produces more natural, satisfying results. Patients who say “I want two syringes” often end up overfilled. Patients who say “I want my lips to look fuller but still natural” give their injector room to make the right clinical decision.
-
Bring reference photos if they help illustrate the look you want
-
Share your complete filler history, including what was used and when
-
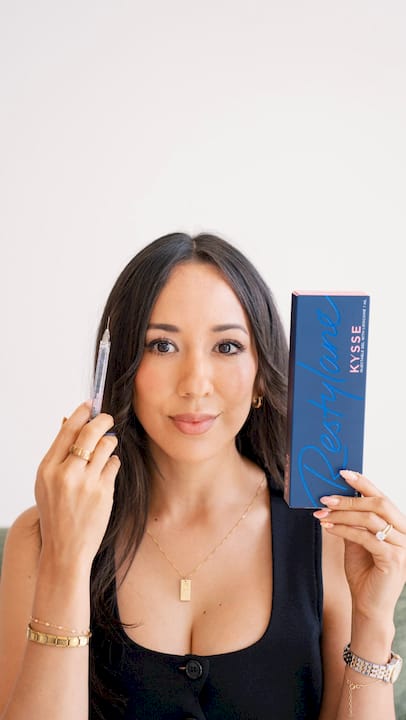
Ask about the specific product being used and why it suits your anatomy
-
Discuss whether you want a subtle change or a more noticeable result
-
Be honest about any prior complications or reactions
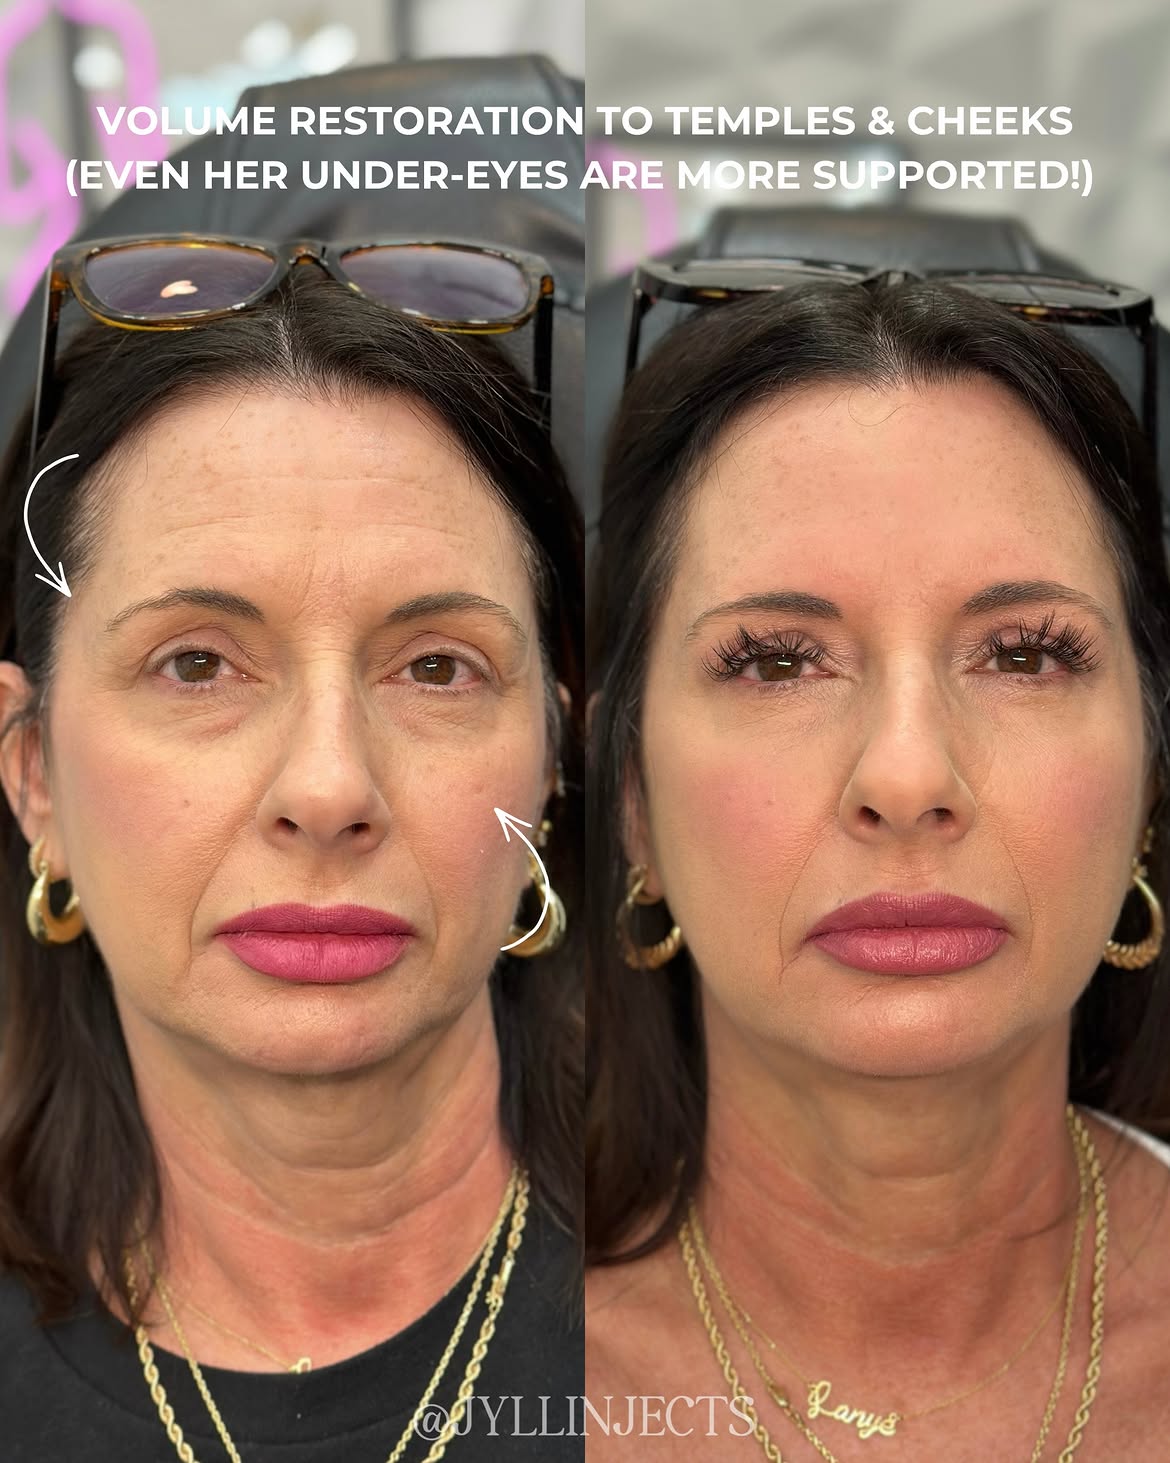
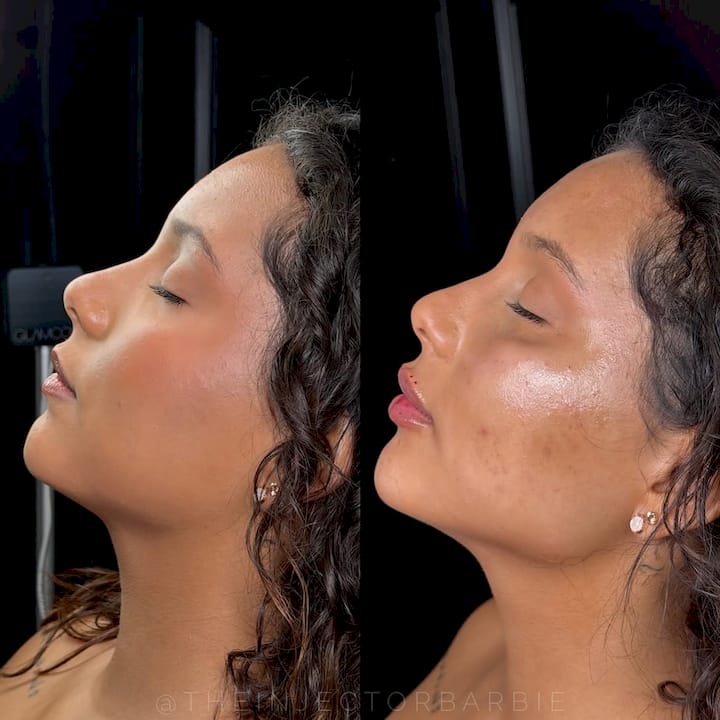
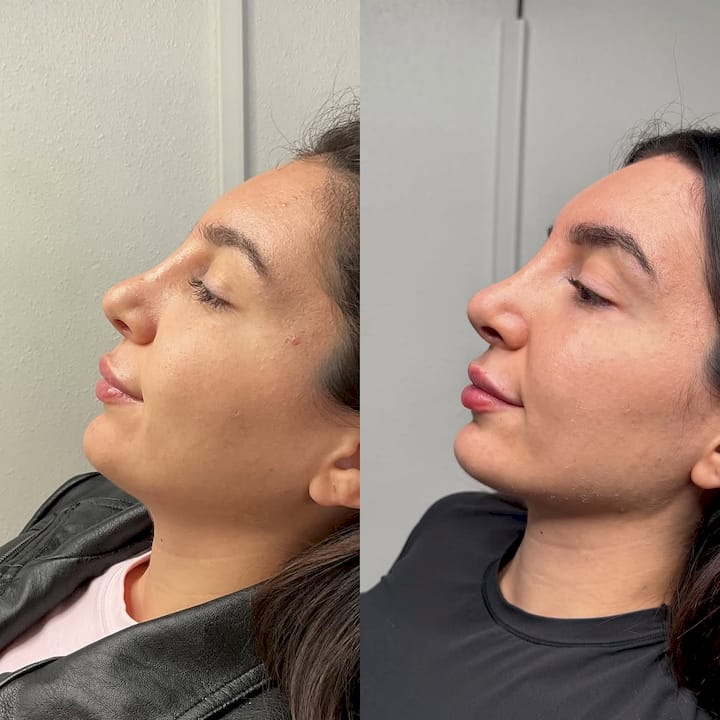
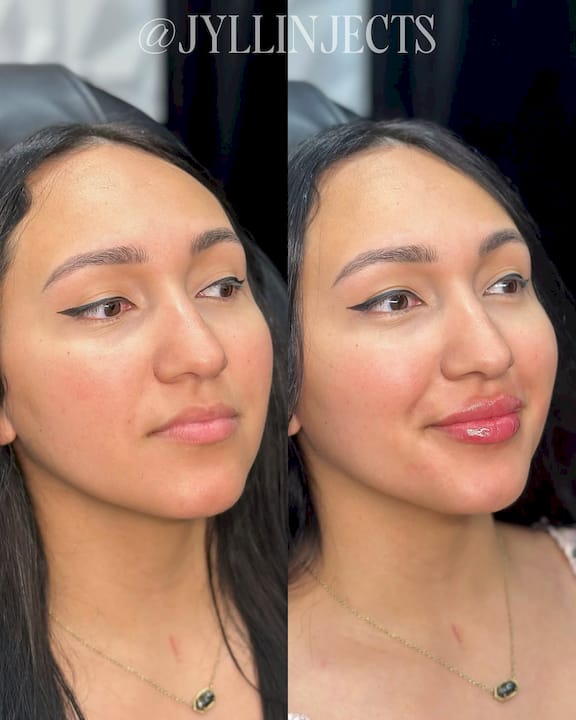
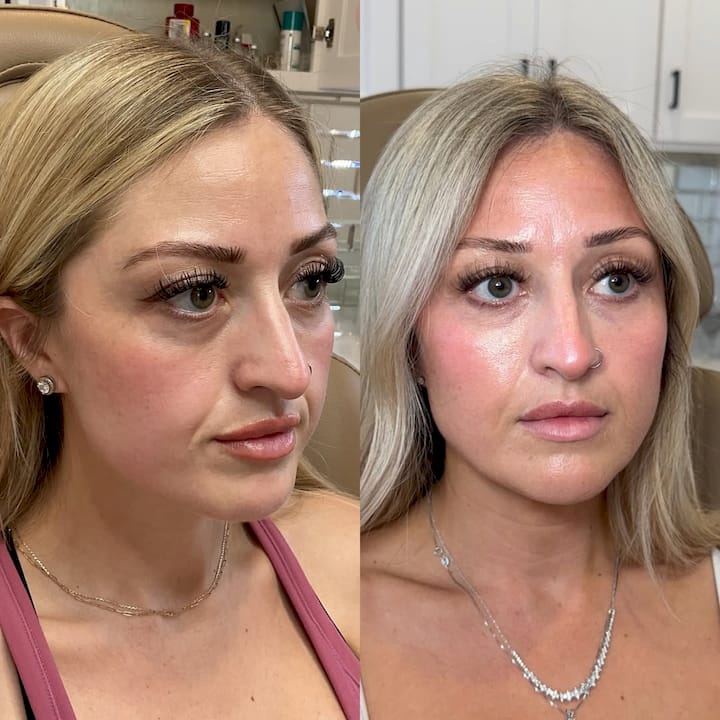
For a deeper look at how natural-looking filler results are achieved, Theinjectionroom has published guidance on selecting the right approach for your facial features. The short version: less product placed well always beats more product placed carelessly.
What to expect after your filler treatment
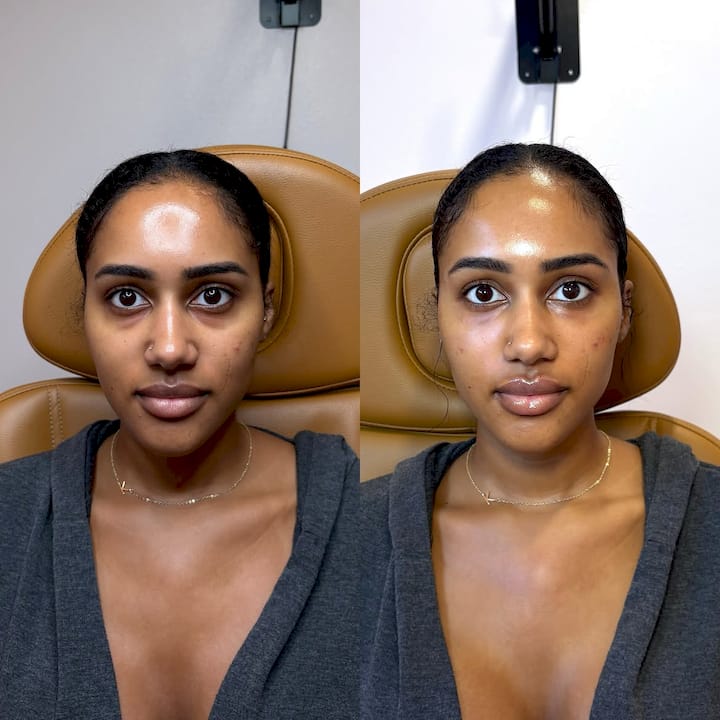
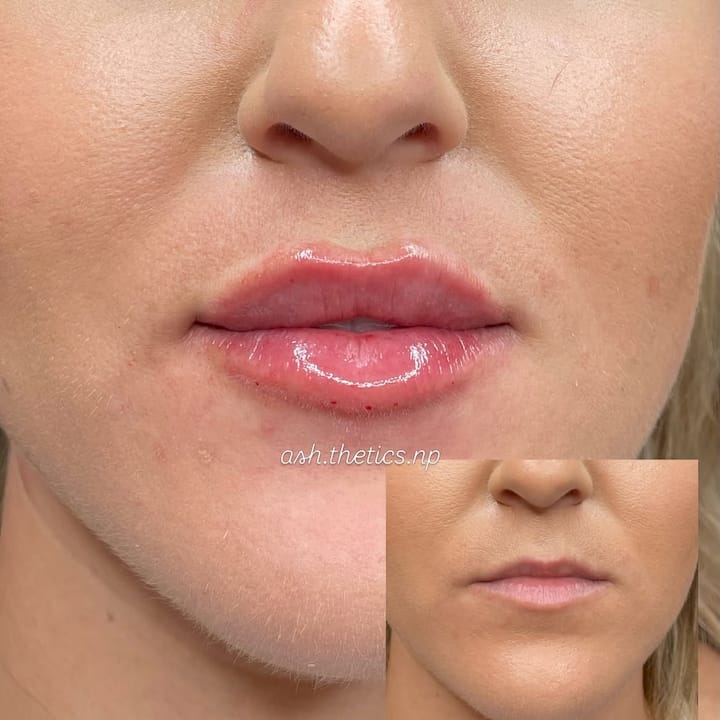
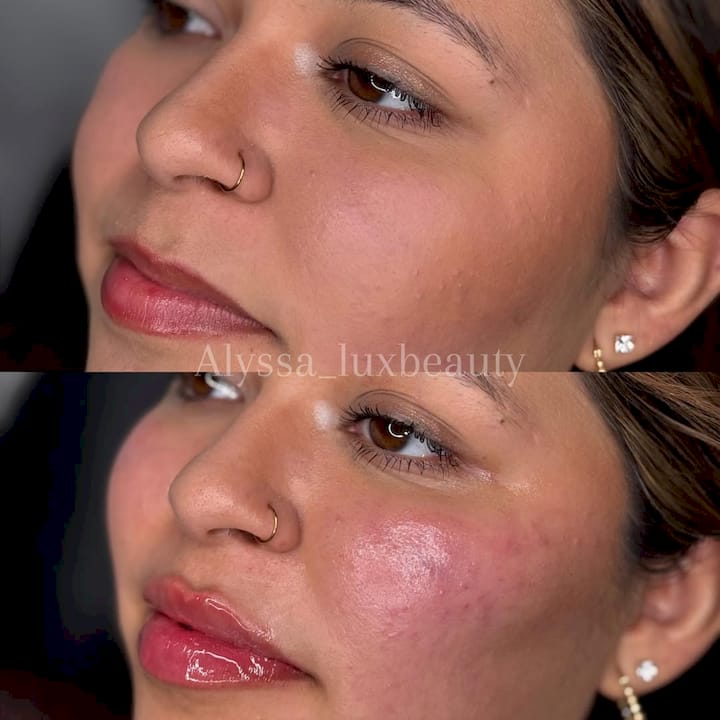
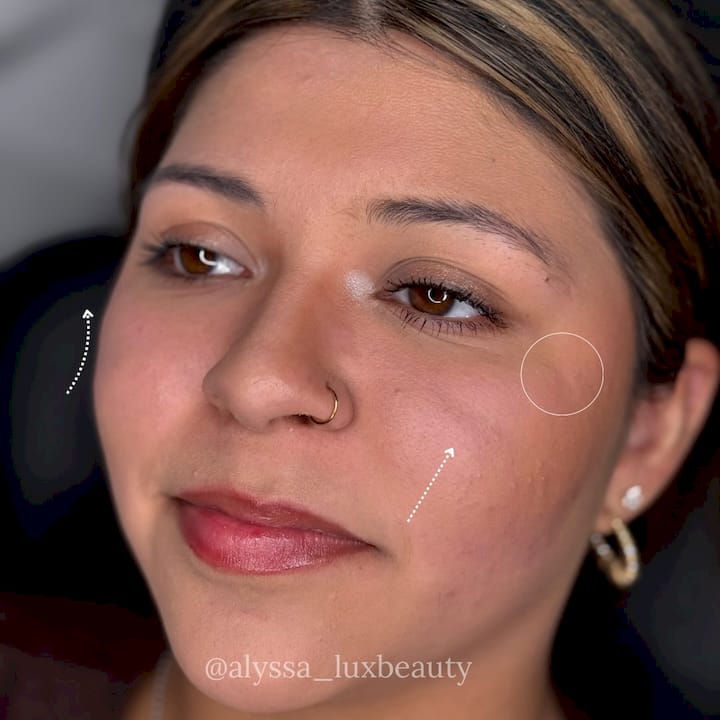
Swelling and bruising after filler are normal. They are not signs that something went wrong. The key rule is to wait a full 14 days before judging your results. Initial swelling distorts the final appearance, and many patients panic in the first 48 hours only to love their results two weeks later.
Post-care steps that reduce recovery time and protect your results:
-
Apply cold compresses to swollen areas for the first 24–48 hours, but avoid direct ice on skin
-
Skip strenuous exercise for 24–48 hours after treatment, since elevated heart rate increases swelling
-
Stay out of direct sun and avoid saunas, steam rooms, and hot tubs for at least 48 hours
-
Sleep with your head slightly elevated the first night to reduce fluid pooling
-
Avoid pressing or massaging the treated area unless your provider specifically instructs you to
Pro Tip: For detailed guidance on managing swelling after your appointment, Theinjectionroom’s post on reducing swelling after fillers covers both immediate and longer-term recovery steps.
Hydration continues to matter after treatment. Hyaluronic acid fillers are hygroscopic, meaning they attract and bind water molecules. Drinking enough water in the days after your appointment supports the filler’s integration into surrounding tissue and helps maintain volume over time.
Contact your provider immediately if you experience severe pain, skin color changes (white or purple patches near the injection site), or vision changes. These are rare but serious signs that require prompt medical attention.
| Recovery milestone | What to expect |
|---|---|
| 24–48 hours | Peak swelling and possible bruising; cold compresses help |
| 3–5 days | Swelling begins to subside; bruising may still be visible |
| 7–10 days | Most bruising resolves; shape becomes clearer |
| 14 days | Final results visible; safe to assess and follow up with provider |
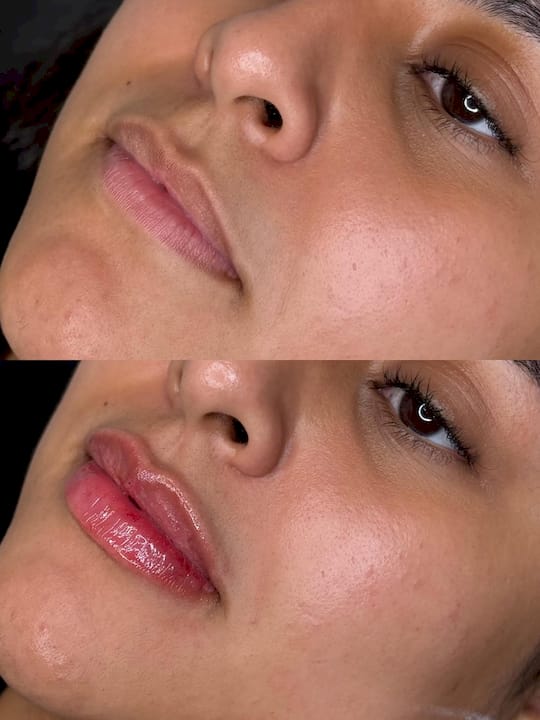
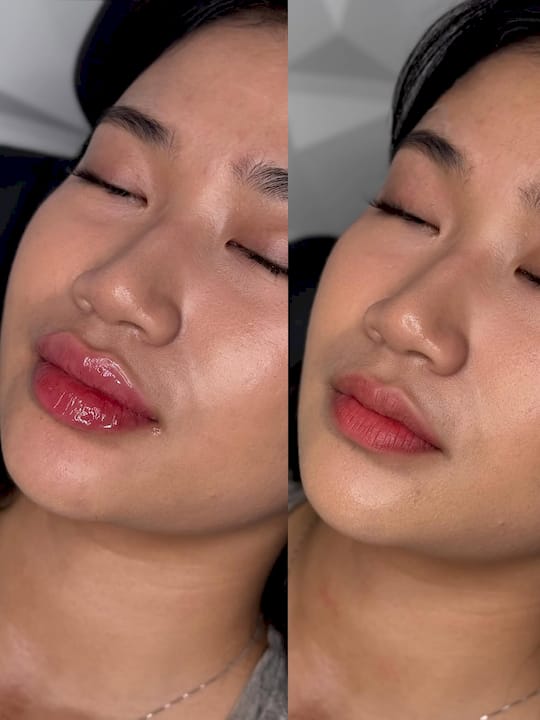
For patients getting lip filler specifically, the lip filler aftercare guide from Theinjectionroom includes additional steps tailored to that area.
Key Takeaways
Proper filler preparation, from stopping blood thinners 5–7 days out to staying hydrated and choosing a board-certified injector, is what separates a smooth result from a complicated recovery.
| Point | Details |
|---|---|
| Stop blood thinners early | Pause aspirin, ibuprofen, fish oil, and similar supplements 5–7 days before treatment. |
| Avoid alcohol before treatment | Skip alcohol for 24–48 hours to reduce bruising and swelling risk. |
| Choose a qualified injector | A board-certified provider with anatomy knowledge is the most critical preparation step. |
| Communicate goals, not quantities | Describe the look you want rather than requesting a specific number of syringes. |
| Wait 14 days to judge results | Initial swelling distorts appearance; final results are not visible until two weeks post-treatment. |
What I’ve learned from watching patients skip the prep
The patients who come in having done zero preparation are easy to spot. They often arrive having had a glass of wine the night before, taken ibuprofen for a headache that morning, and scheduled their appointment a week before a wedding. Every one of those choices stacks the odds against a clean result.
The 14-day rule is the one I wish more first-time patients took seriously. I have seen people call in distress on day three, convinced something went wrong, only to send a photo two weeks later that looks exactly as planned. Swelling is not failure. It is biology. Patience is part of the treatment.
For first-time patients, I always recommend starting conservative. You can always add more filler at a follow-up. You cannot easily undo overfilling, and the correction process is more expensive and more stressful than getting it right the first time. The goal is not to look like you had something done. The goal is to look like a better version of yourself.
One more thing: honest communication with your injector is not optional. If you have had filler elsewhere, say so. If you are nervous, say so. If you have a history of cold sores, absolutely say so. The consultation is not a formality. It is the part of the process where the real work happens.
— Marina
Filler consultations and treatments at Theinjectionroom
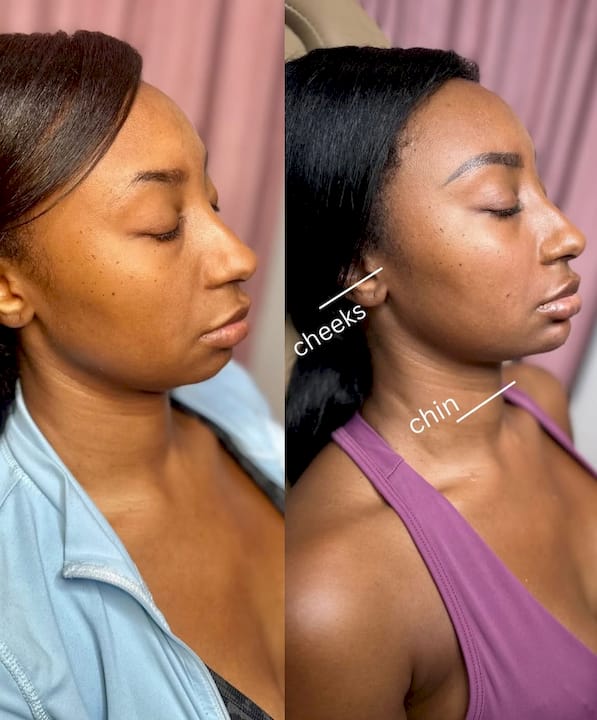
Theinjectionroom serves patients in Austin and San Antonio, Texas, with a full range of dermal filler treatments including lip, cheek, chin, and non-surgical nose job options. Every treatment begins with a personalized consultation where your injector reviews your facial anatomy, medical history, and aesthetic goals before recommending a plan. The team uses a conservative, anatomy-first approach that prioritizes natural results over volume. If you are ready to move from preparation to treatment, scheduling a consultation at Theinjectionroom is the right next step. You will leave with a clear plan, realistic expectations, and a provider who knows your face.
FAQ
How many days before filler should I stop ibuprofen?
Stop ibuprofen and other blood-thinning medications 5–7 days before your filler appointment to reduce bruising and swelling risk.
Can I wear makeup to my filler appointment?
Arrive with clean, makeup-free skin. Your provider will cleanse the treatment area, but starting without makeup lowers infection risk and keeps the environment sterile.
When will I see my final filler results?
Wait a full 14 days before evaluating your results. Initial swelling can significantly alter the appearance of filler in the first week.
Do I need to tell my injector about past filler treatments?
Yes. Sharing your prior filler history, including what product was used and when, helps your injector plan placement accurately and avoid overfilling.
Does drinking water affect filler results?
Hyaluronic acid fillers bind to water in the skin, so staying well hydrated before and after treatment supports better filler integration and helps maintain volume over time.

%20Pictures%20are%204%20weeks%20apart..jpg)