Microneedling has become one of the most talked about treatments for anti-aging and skin rejuvenation, but many women still wonder what actually happens during the procedure and whether it lives up to the hype. If you’re considering this treatment, understanding the process, recovery timeline, and realistic outcomes will help you make an informed decision. This guide walks you through everything you need to know about microneedling treatment, from the science behind it to what happens in the treatment room and during recovery.
Table of Contents
-
Recovery, side effects, and aftercare tips for optimal results
-
Who should avoid microneedling and special considerations for Texas skin types
-
What to expect from microneedling: frequently asked questions
Key Takeaways
| Point | Details |
|---|---|
| Controlled micro injuries | Microneedling creates tiny micro injuries with fine needles to trigger collagen and elastin production for skin renewal. |
| Multiple sessions spaced weeks apart | The full anti aging benefits develop over weeks and require several sessions to maximize results. |
| Redness and peeling normal | Initial redness and mild peeling are common and typically resolve within a few days. |
| Aftercare is critical | Following a provider recommended aftercare routine including gentle cleansing sun protection and hydration supports healing and outcomes. |
How microneedling works: the science behind skin renewal
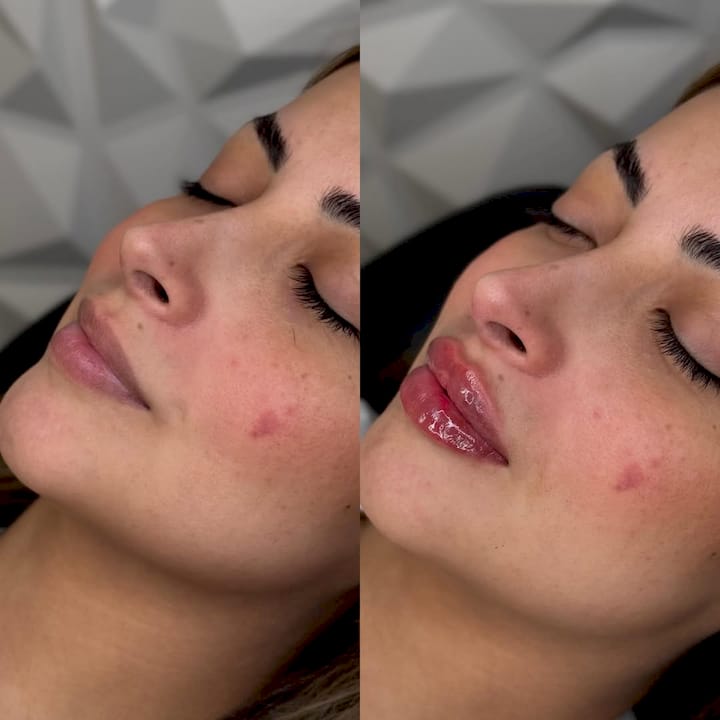
Microneedling involves creating controlled micro-injuries using fine sterile needles to stimulate collagen and elastin for skin rejuvenation and anti-aging. When the device glides across your skin, these tiny needles puncture the surface at precise depths, triggering your body’s natural wound healing response. This isn’t damage for the sake of it. It’s strategic stimulation that tells your skin to rebuild itself from within.
Your body responds to these micro-injuries by rushing healing factors to the treatment area. Fibroblasts, the cells responsible for producing structural proteins, kick into high gear. They generate fresh collagen and elastin, the two proteins that give youthful skin its firmness, smoothness, and bounce. As new collagen forms over the weeks following treatment, you’ll notice improvements in fine lines, wrinkles, texture irregularities, and overall skin tone.
The beauty of understanding microneedling lies in its adjustability. Providers can control needle depth based on your specific concerns:
-
Superficial depths (0.5-1.0mm) target fine lines and texture
-
Medium depths (1.0-2.0mm) address deeper wrinkles and acne scars
-
Deeper penetration (2.0-2.5mm) treats significant scarring and severe texture issues
Pro Tip: Always ensure your provider adjusts needle depth based on your skin type and treatment goals. Deeper isn’t always better, and improper depth selection can cause unnecessary trauma or disappointing results.
“The controlled injury created by microneedling activates the skin’s repair mechanisms at a cellular level. This cascade of healing events doesn’t just patch the surface. It fundamentally remodels the dermal architecture, leading to long-term improvements in skin quality and appearance.”
The collagen remodeling process continues for months after your session. While you might see some immediate glow from increased circulation, the real transformation unfolds gradually as your skin rebuilds its structural foundation. This is why multiple sessions spaced several weeks apart produce the most dramatic anti-aging benefits.
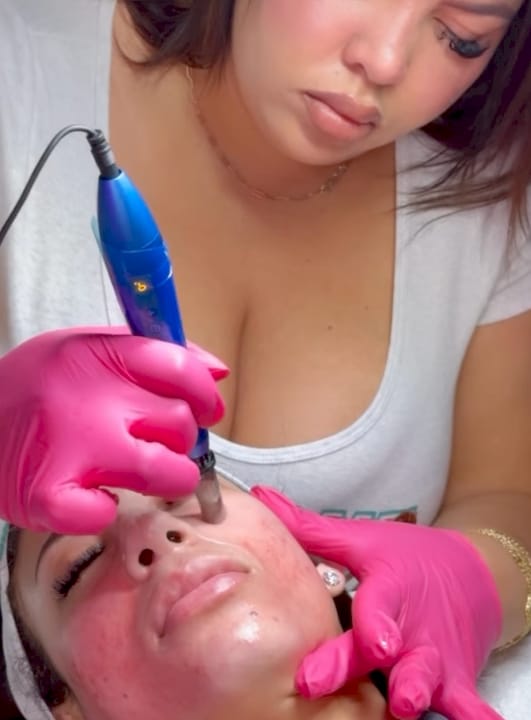
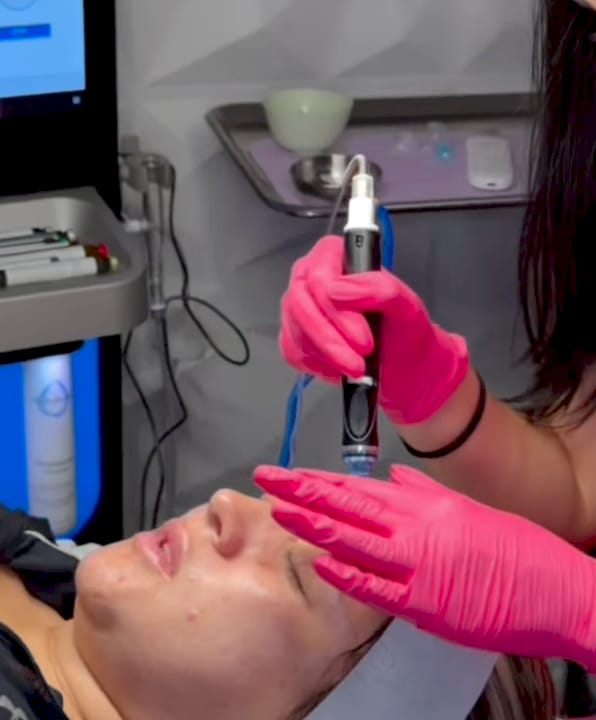
What to expect during your microneedling session
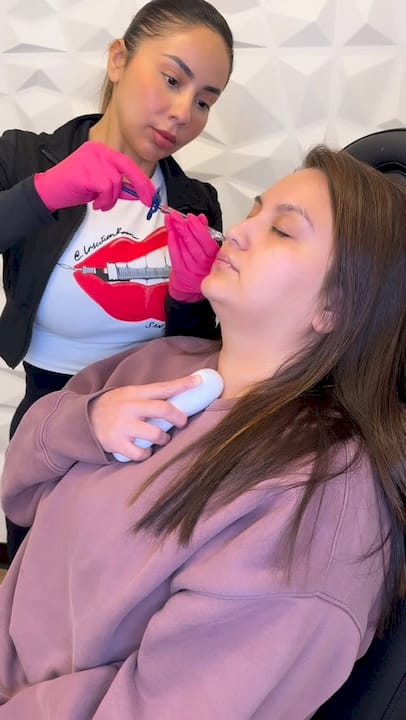
Knowing what happens during a typical microneedling procedure helps ease anxiety and ensures you’re prepared for the experience. Here’s the step-by-step breakdown of what your appointment will look like:
-
Consultation and skin assessment: Your provider examines your skin, discusses your goals, reviews medical history, and determines appropriate needle depth
-
Thorough cleansing: All makeup, oils, and surface debris are removed to prevent infection and ensure optimal needle penetration
-
Numbing cream application: A topical anesthetic is applied and left on for 20-45 minutes to minimize discomfort during the procedure
-
Microneedling treatment: The device is passed over treatment areas in multiple directions, creating thousands of micro-channels
-
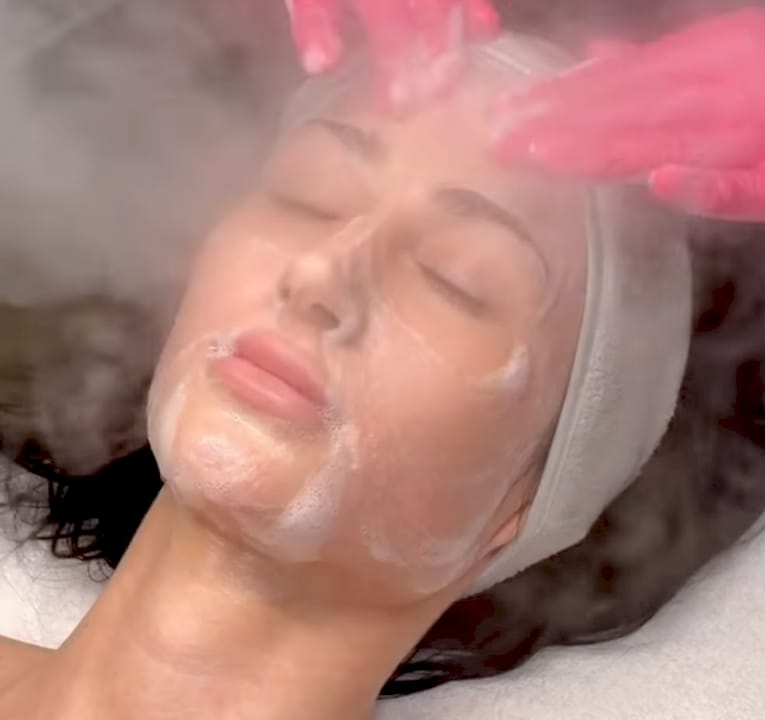
Soothing serum application: A calming, hydrating serum or growth factor solution is applied to support healing and enhance results
The actual needling portion takes about 30-60 minutes depending on the size of the treatment area. Your face will take less time than treating your face, neck, and chest combined. During the procedure, you’ll likely feel sensations that vary based on the area being treated and your individual pain tolerance.
Common sensations during microneedling include:
-
Mild pricking or tingling, especially over thinner skin areas like around the eyes
-
Vibration from the device as it moves across your skin
-
Slight pressure when the provider works over bonier areas like the forehead or jawline
-
Increased sensitivity over areas with active concerns like acne scars
Most patients describe the experience as tolerable rather than painful, thanks to the numbing cream. Some areas feel more sensitive than others. The forehead and cheeks typically cause minimal discomfort, while the upper lip and areas closer to bone can feel more intense.
Pro Tip: Communicate openly with your provider during treatment. If an area feels too uncomfortable, they can apply additional numbing cream or adjust their technique. Don’t suffer in silence.
Immediately after your session, your skin will look flushed and feel tight, similar to a moderate sunburn. This is completely normal and indicates that the treatment worked. Your provider will apply a microneedling skin rejuvenation protocol serum to calm inflammation and support the healing process that’s already beginning beneath the surface.
Recovery, side effects, and aftercare tips for optimal results
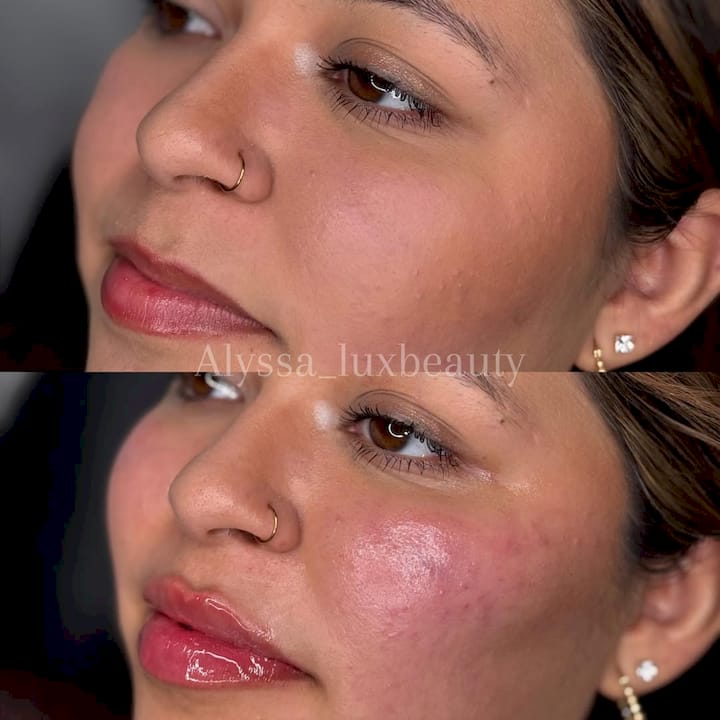
Understanding the healing timeline and proper aftercare practices is crucial for achieving the best possible outcomes while minimizing complications. Immediate post-treatment involves redness, swelling, and possible peeling, with full healing typically taking 3-7 days.
Your skin goes through distinct phases during recovery:
-
Hours 0-24: Redness, swelling, and tightness peak during this period; skin may feel hot and look sunburned
-
Days 1-2: Redness begins subsiding; you might notice pinpoint bleeding spots or tiny scabs forming
-
Days 2-5: Skin starts flaking or peeling as the damaged surface layer sheds and fresh skin emerges
-
Days 5-7: Most visible healing complete; redness fades to a subtle pink that makeup can cover
-
Weeks 2-12: Collagen production ramps up; you’ll see progressive improvements in texture, tone, and firmness
Some mild discomfort, tightness, and sensitivity are normal during the first 48 hours. Your skin is working hard to repair itself, so treat it gently during this critical window.
Aftercare requires avoiding sun, makeup, harsh products, and exercise while using hydration and SPF to protect healing skin. Here’s your essential aftercare roadmap:
| Recovery phase | What to avoid | What to do |
|---|---|---|
| First 24 hours | Makeup, sun exposure, sweating, touching face | Gentle cleansing with lukewarm water, apply recommended serums |
| Days 2-3 | Harsh cleansers, exfoliants, retinoids, acids | Hydrating products, gentle moisturizer, stay indoors when possible |
| Days 4-7 | Direct sun, chlorinated pools, saunas, vigorous exercise | Broad-spectrum SPF 30+, continue gentle skincare routine |
| Week 2 onward | Excessive sun without protection | Resume normal skincare gradually, maintain sun protection |
Pro Tip: Avoid taking NSAIDs like ibuprofen or aspirin for 24 hours before and after treatment. These medications can interfere with the inflammatory response your body needs to trigger collagen production effectively.
Your microneedling aftercare checklist should include gentle, fragrance-free products that support barrier repair. Look for ingredients like hyaluronic acid, ceramides, and peptides. Skip active ingredients like vitamin C, retinol, and glycolic acid until your provider gives you the green light, usually after 5-7 days.

Skipping proper aftercare can lead to prolonged redness, increased risk of infection, hyperpigmentation, or disappointing results. Your skin is more vulnerable than usual during the healing window, so protecting it from sun exposure and irritants isn’t optional. Think of aftercare as the second half of your treatment, equally important as the procedure itself.
Who should avoid microneedling and special considerations for Texas skin types
While microneedling offers impressive benefits for many people, it’s not suitable for everyone. Contraindications include active acne, eczema, rosacea, keloids, pregnancy, and metal allergies, with higher PIH risk in darker skin tones requiring caution.
Certain conditions create too much risk for complications:
-
Active inflammatory acne: Needling can spread bacteria and worsen breakouts
-
Active eczema or psoriasis: Treatment can trigger flares and increase irritation
-
Rosacea: The procedure may exacerbate redness and sensitivity
-
Keloid tendency: People prone to raised scarring may develop keloids from micro-injuries
-
Pregnancy: Safety hasn’t been established for pregnant or nursing women
-
Metal allergies: Nickel sensitivity can cause reactions to stainless steel needles
If you’re taking blood thinners, have recently used isotretinoin, or have a history of cold sores, discuss these factors with your provider. They may require medication adjustments or prophylactic treatment before proceeding.
Darker skin needs test patch treatment due to PIH risk, and the treatment isn’t suitable for volume loss, where fillers work better. Women with deeper skin tones face higher risk of post-inflammatory hyperpigmentation, where healing skin produces excess melanin that creates dark spots. This doesn’t mean microneedling is off limits, but it requires extra precautions:
| Skin consideration | Risk level | Recommended approach |
|---|---|---|
| Fitzpatrick I-II (very fair to fair) | Low PIH risk | Standard protocol with sun protection |
| Fitzpatrick III-IV (medium to olive) | Moderate PIH risk | Conservative depth, test patch recommended |
| Fitzpatrick V-VI (brown to dark brown) | Higher PIH risk | Mandatory test patch, lighter depth, strict sun avoidance |
| Active breakouts | High infection/worsening risk | Postpone until skin clears |
| Volume loss concerns | Treatment ineffective | Consider dermal fillers instead |
Texas women should seek board-certified providers experienced with diverse skin types and tones. The intense sun exposure common in Texas also means year-round sun protection becomes even more critical after treatment. Your provider should assess your Fitzpatrick skin type, discuss your sun exposure habits, and potentially recommend a test patch on a small area before treating your entire face.
Pro Tip: Schedule your consultation at least two weeks before your desired treatment date. This gives you time for a test patch if needed and ensures you’re not rushing into a procedure without fully understanding your individual risk factors.
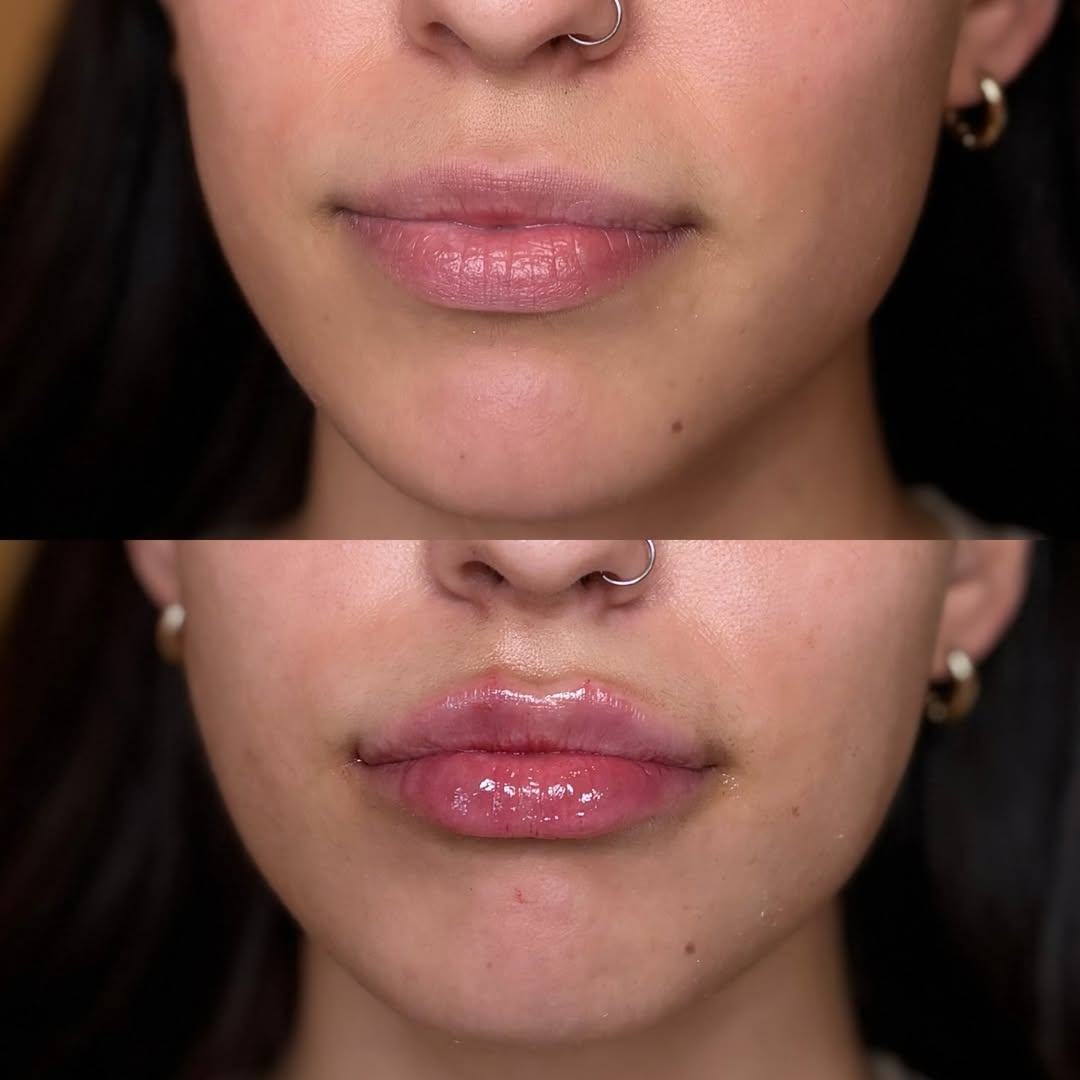
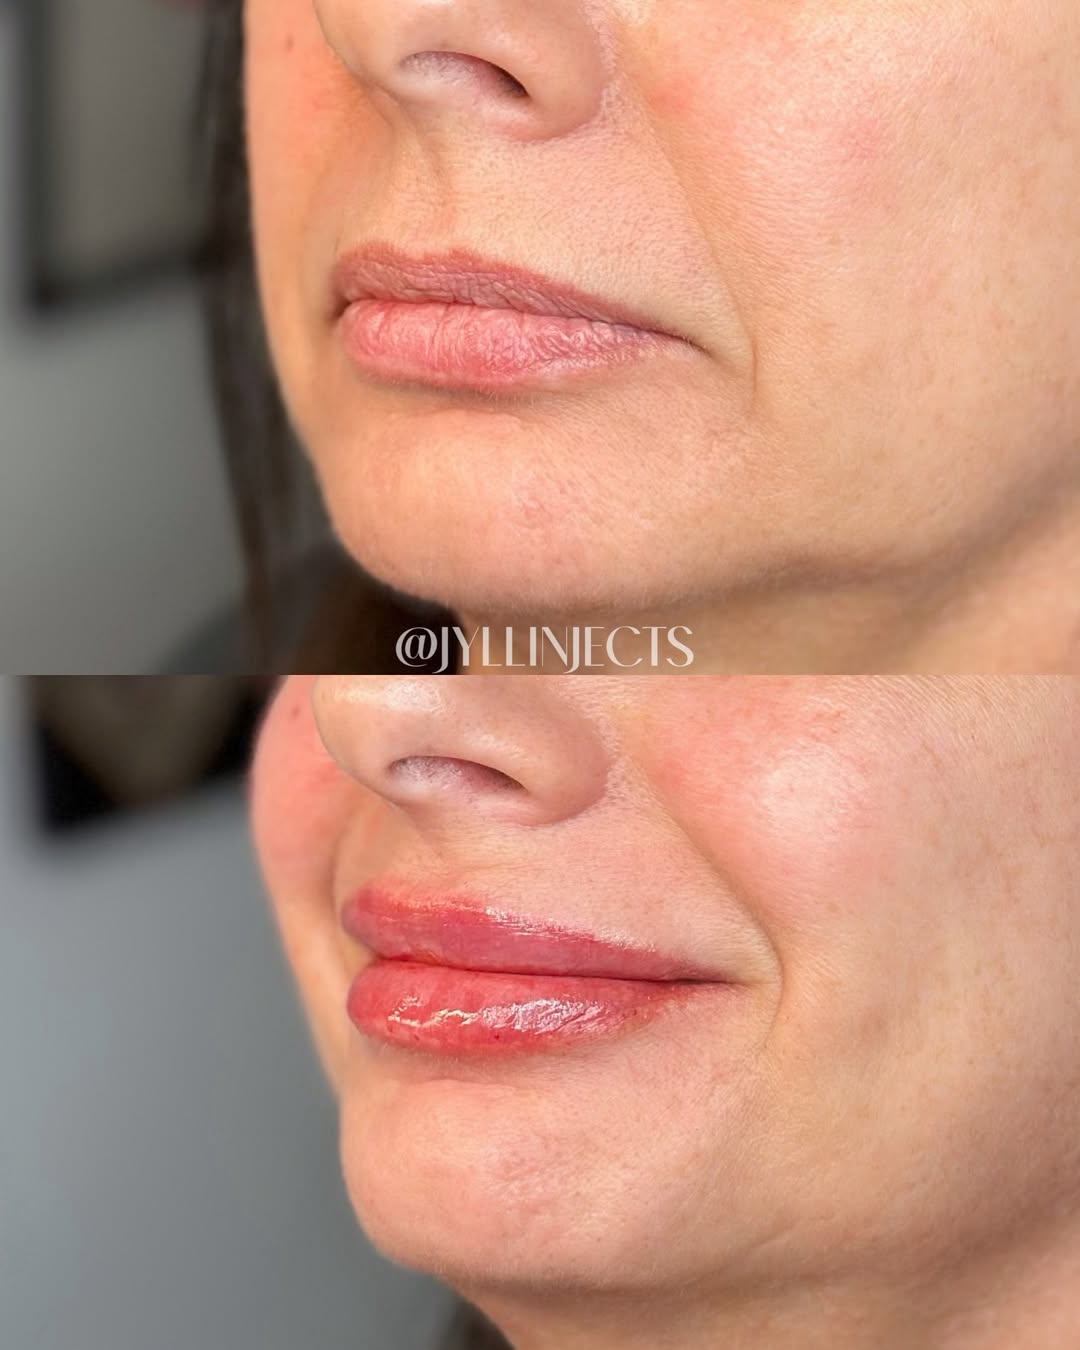
Microneedling excels at improving texture, tone, and fine lines, but it won’t restore lost facial volume. If your primary concern is hollowing cheeks or thinning lips, microneedling collagen rejuvenation works best when combined with dermal fillers that replace volume directly. A skilled provider can help you determine whether microneedling alone will address your concerns or if a combination approach makes more sense for your goals.
Explore expert microneedling services in Texas
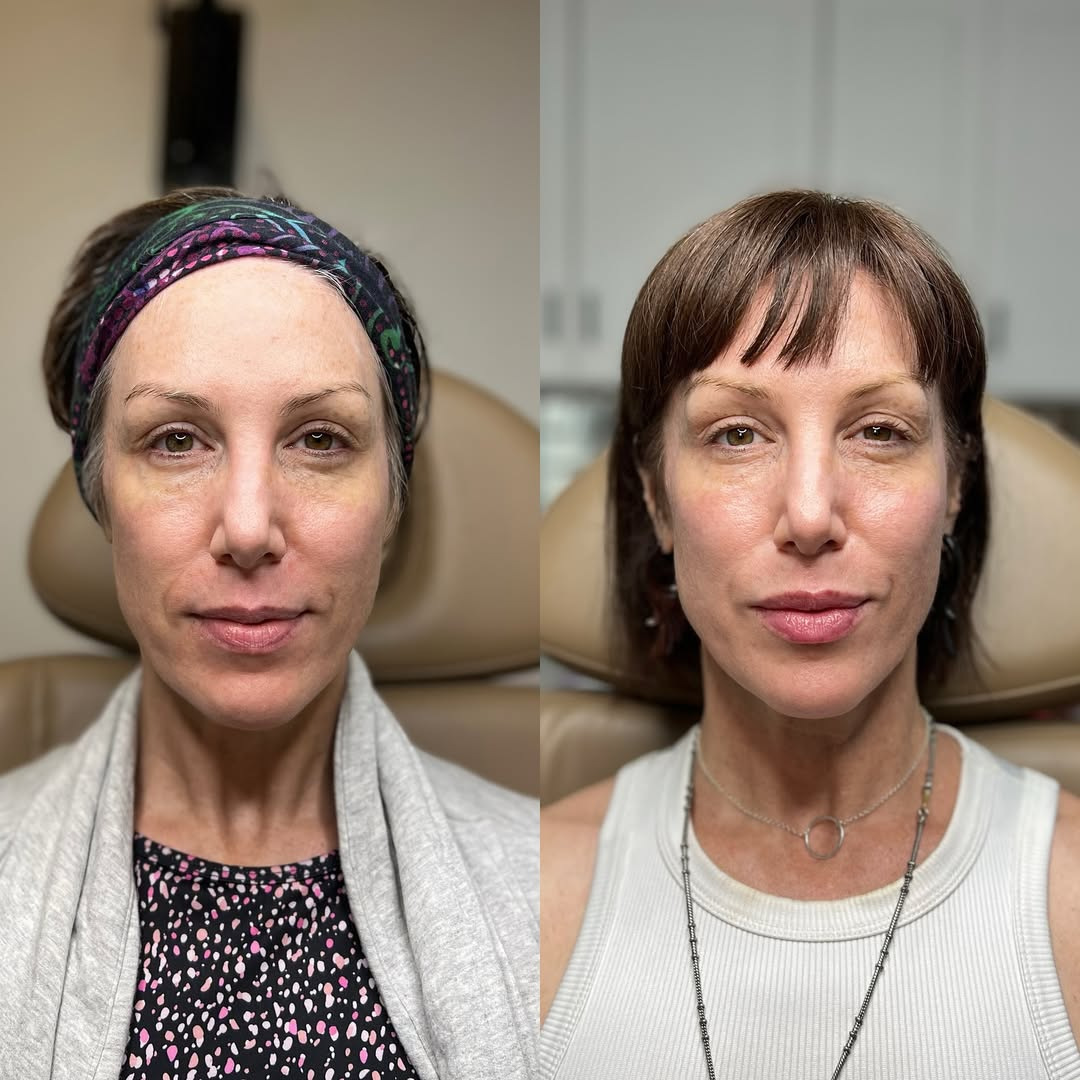
Choosing an experienced, board-certified provider makes all the difference in your microneedling results and safety. Texas offers access to skilled aesthetic specialists who understand how to customize treatments for different skin types, tones, and anti-aging goals. If you’re ready to experience professional microneedling services in Texas, scheduling a consultation allows you to discuss your specific concerns and create a personalized treatment plan.
Many women find that combining microneedling with complementary treatments like Botox treatments in San Antonio enhances overall rejuvenation by addressing both texture concerns and dynamic wrinkles. Whether you’re in Austin or San Antonio, Austin microneedling services provide convenient access to expert care tailored to your unique needs. The right provider will take time to assess your skin, explain realistic expectations, and ensure you feel confident about moving forward with treatment.
What to expect from microneedling: frequently asked questions
How long before I see results from microneedling?
You’ll notice an immediate glow from increased circulation, but real improvements emerge gradually as collagen rebuilds over 4-6 weeks. Most people see optimal results after 3-6 sessions spaced 4-6 weeks apart, with continued improvement for up to six months after completing the series.
Is microneedling painful for first-time patients?
Most first-time patients describe the sensation as tolerable rather than painful, thanks to numbing cream applied before treatment. You’ll feel pricking, tingling, and vibration, with some areas more sensitive than others. Discomfort levels vary based on individual pain tolerance and treatment depth.
Can I combine microneedling with other skin treatments?
Yes, but timing matters. You can safely combine microneedling with treatments like chemical peels or laser therapy, but they should be spaced appropriately to avoid over-treating your skin. Many providers recommend waiting 2-4 weeks between different procedures. Discuss your full treatment plan with your provider to ensure compatibility.
How many microneedling sessions do I need for best anti-aging effects?
Most people need 3-6 sessions spaced 4-6 weeks apart to achieve significant anti-aging improvements. Maintenance sessions every 6-12 months help preserve results long term. Your provider will recommend a specific protocol based on your skin condition, age, and goals.
What precautions should I take if I have sensitive or darker skin?
If you have sensitive skin, communicate this during consultation so your provider can use gentler techniques and appropriate numbing. For darker skin tones, request a test patch to assess your PIH risk, insist on conservative needle depths, and commit to strict sun protection before and after treatment. Choose a provider experienced with your skin type.